
Enterprise strength
2025年5月13日How to Detect Transformer Faults Effortlessly: Thermal Imaging Guide for Industrial Standards
2025年7月14日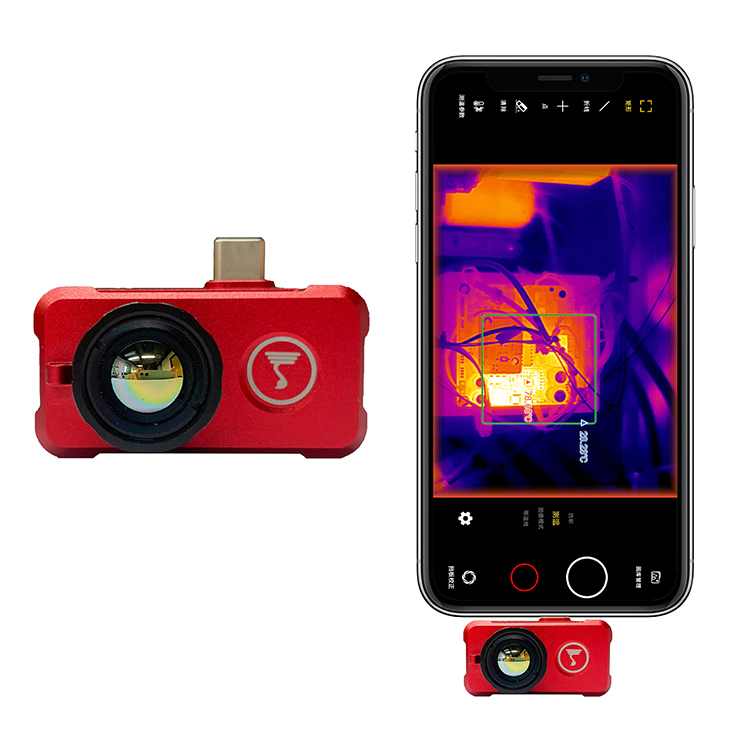
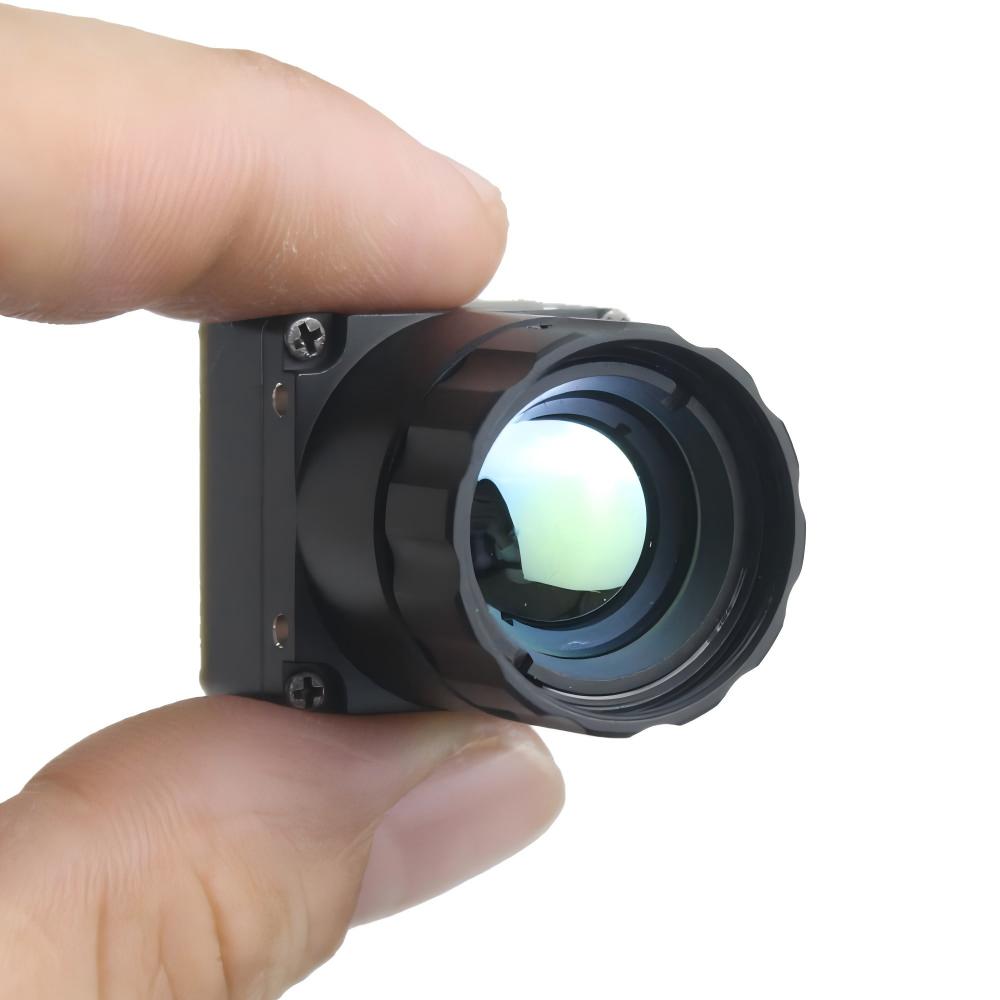
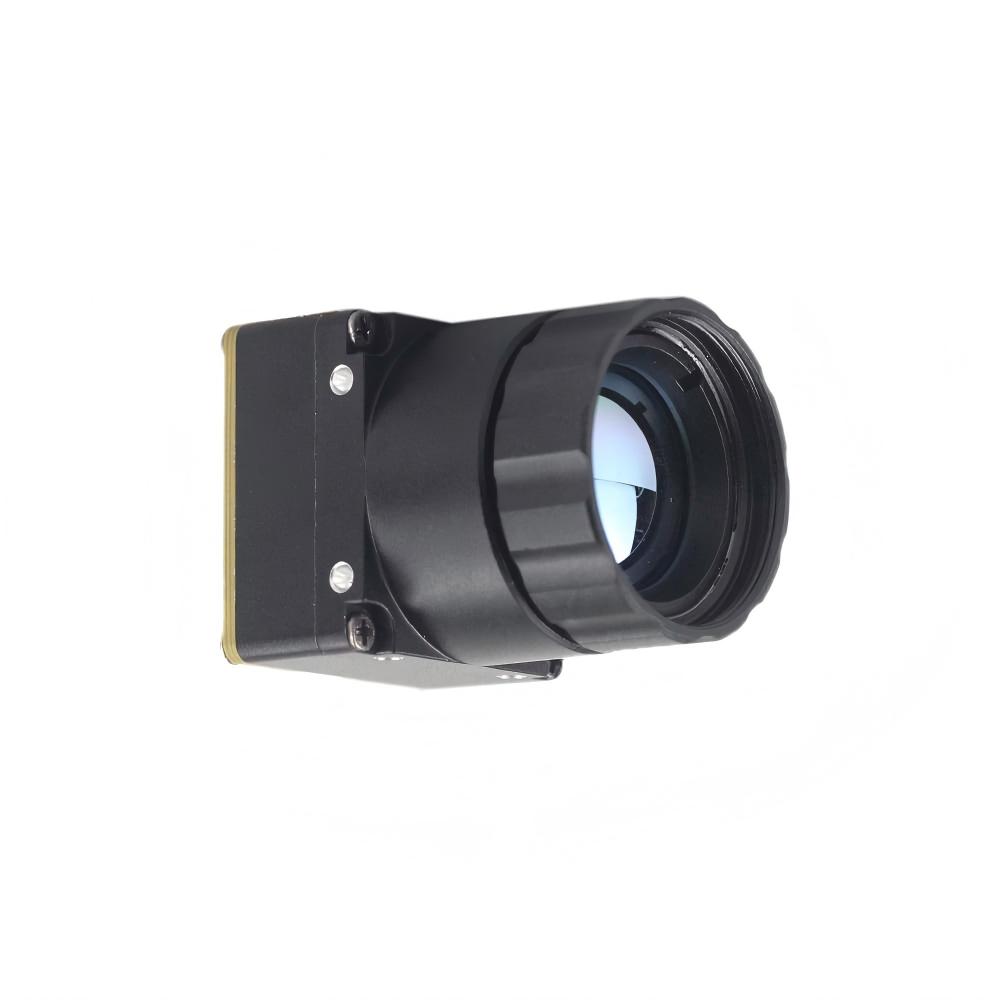
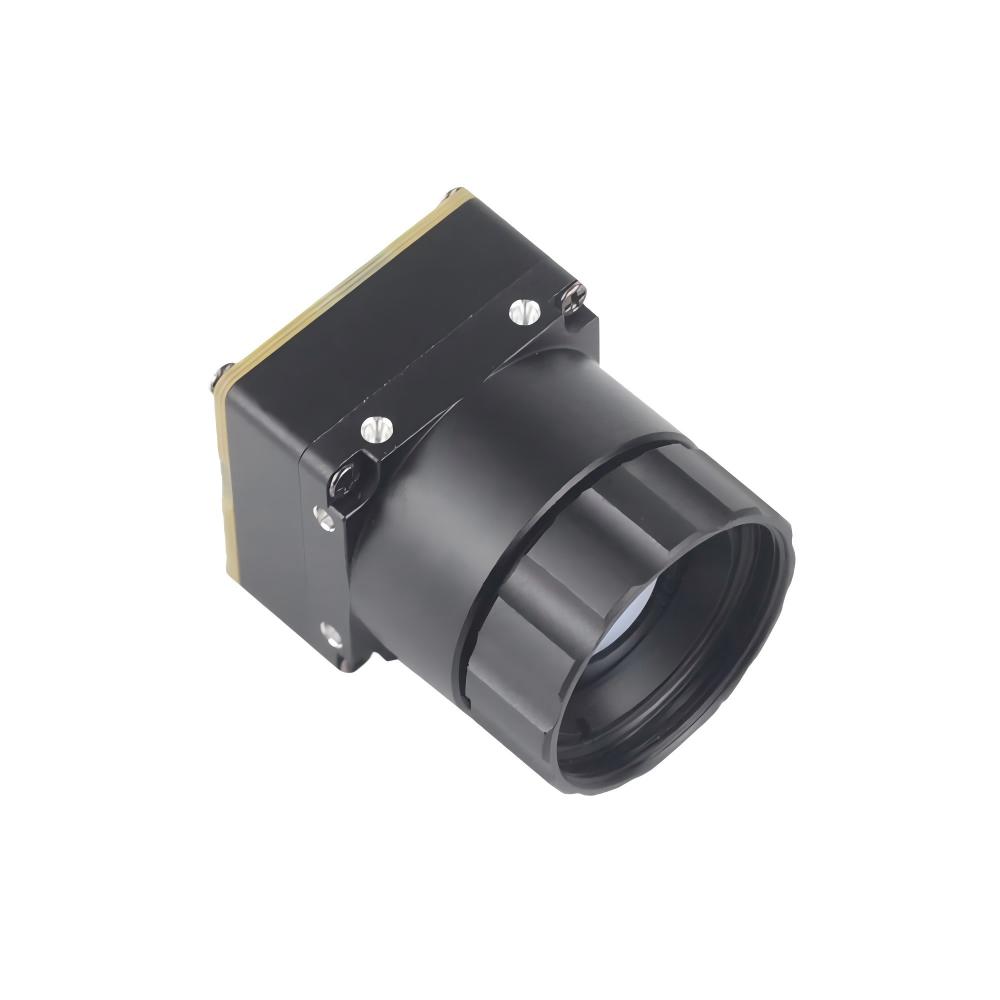
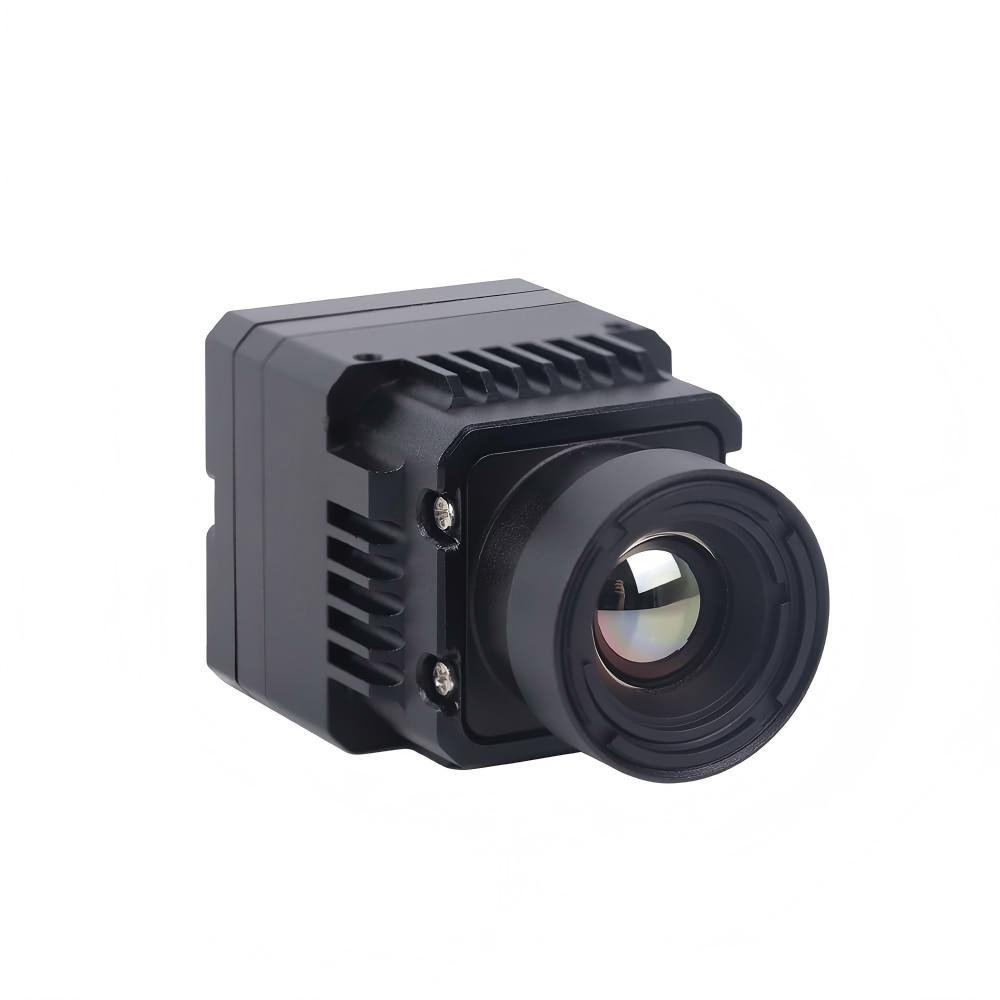
384x288-smartphone-mini-usb-infrared-thermal-camera-for-android-type-c-temperature-measurement
- Configuration requirements
1.1 System
Android 6.0(M)and above
Enable OTG function(Oppo needs manual enabling)
Support Armeabi-V7a
1.2 Hardware
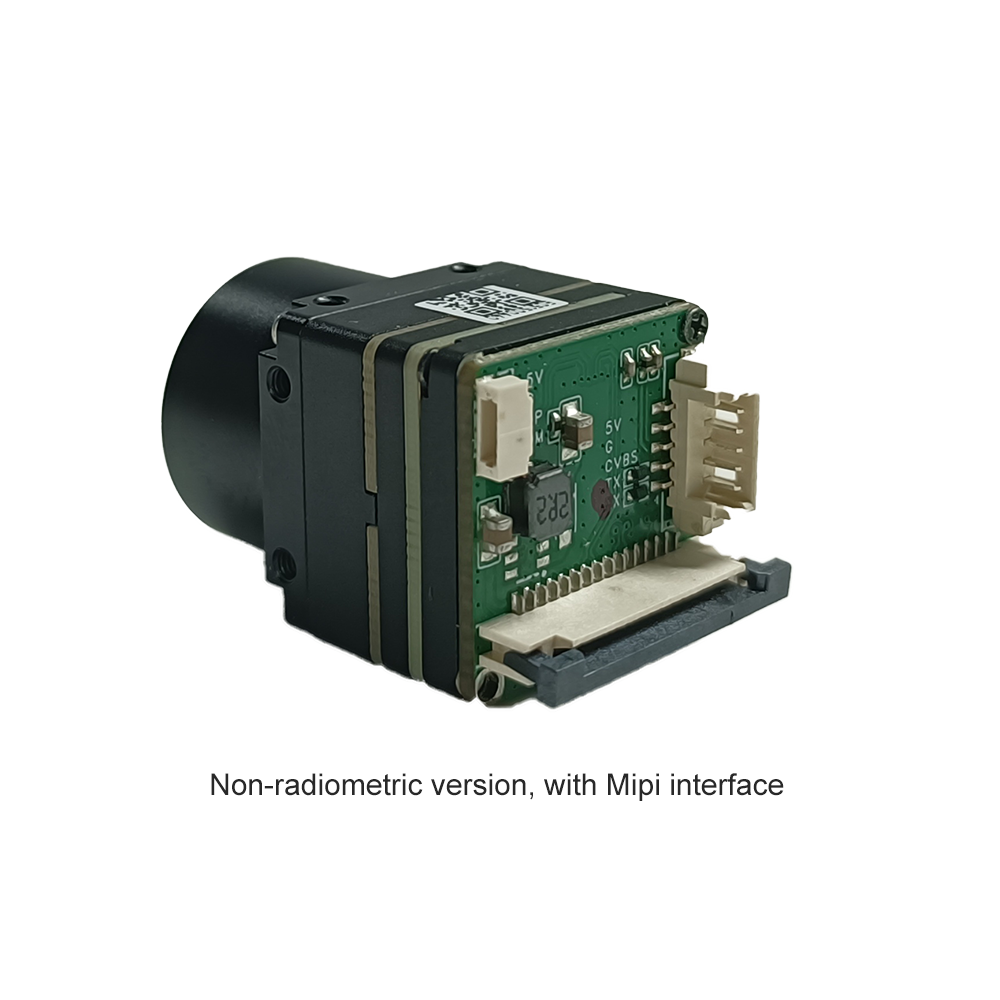
Type-C interface
384x288 thermal camera
APP Download
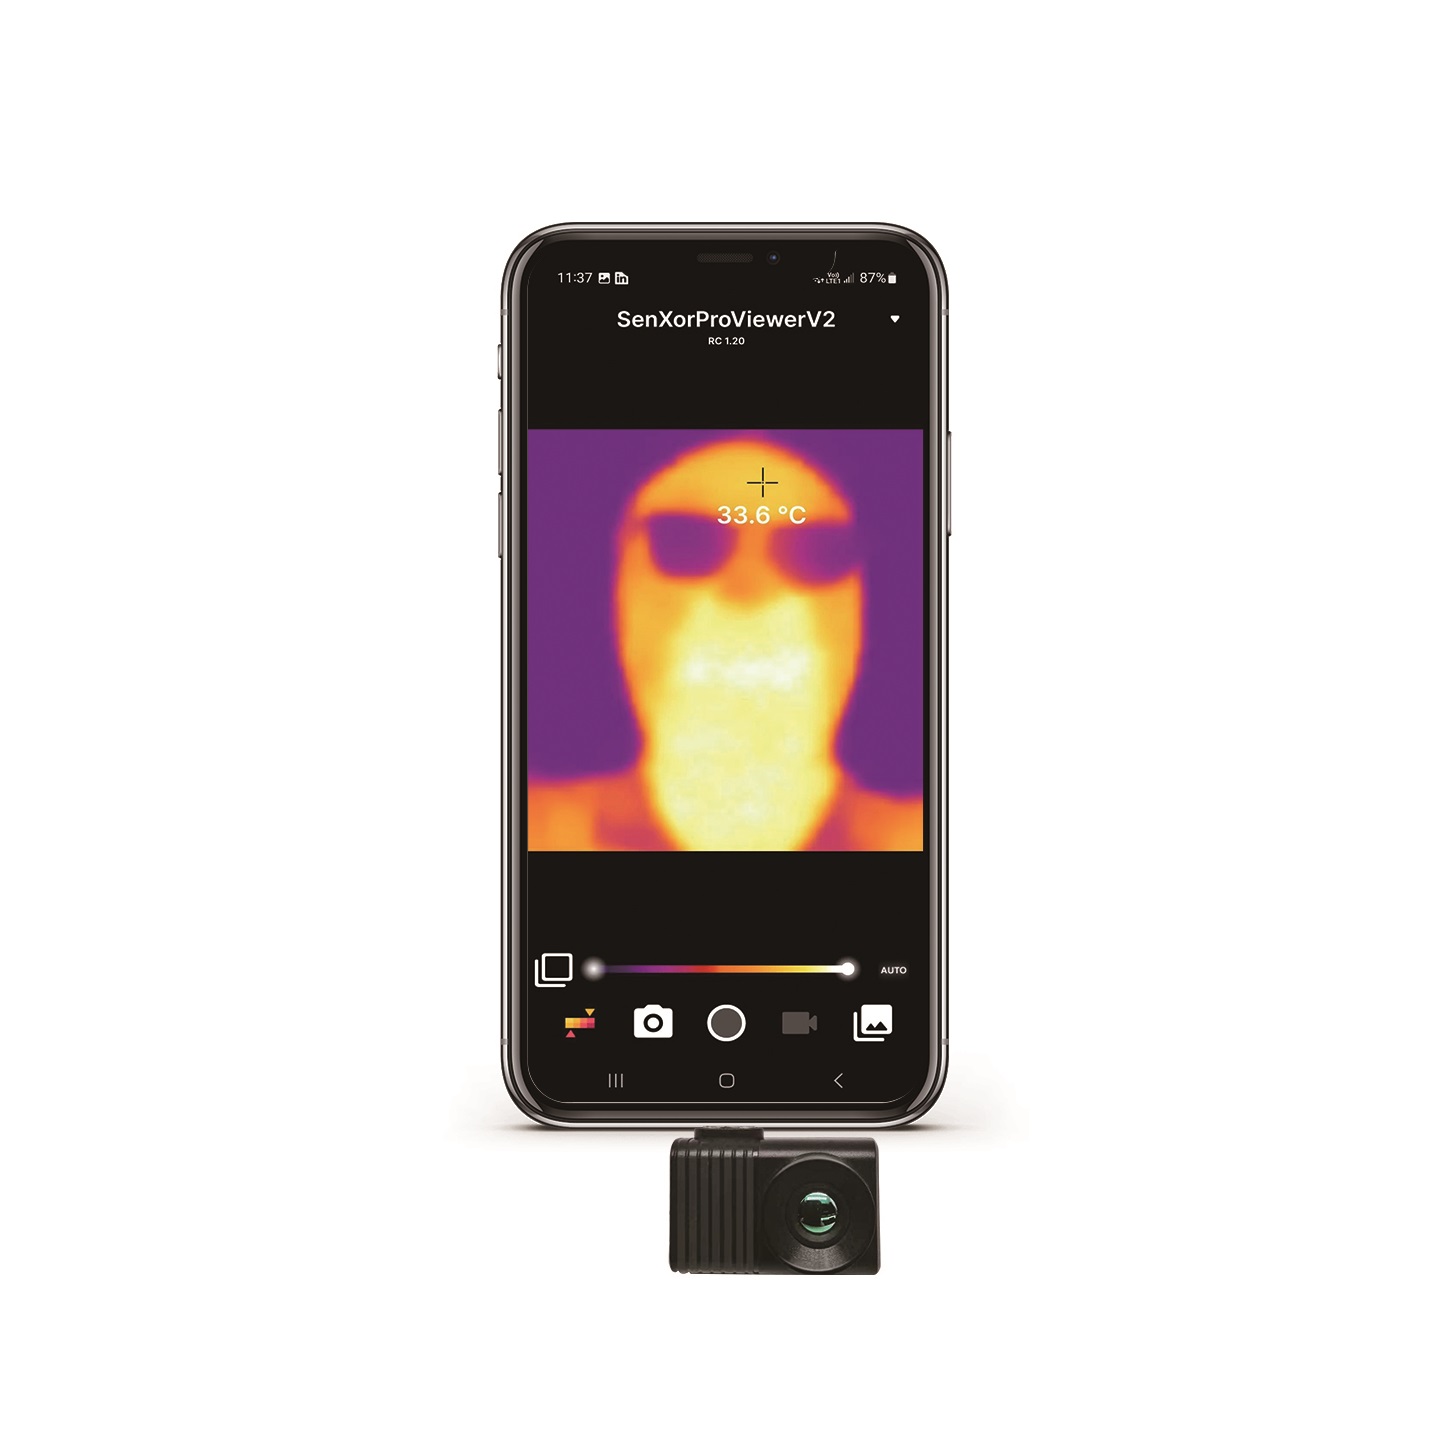
2. View Thermal images
The camera will transmit data back to the device, but this requires your authorization. In devices before Android 6.0, after accepting all permissions when installing the app, no action is required. The app has already obtained the permission to use the external camera. In Android versions 6.0 and above, manual authorization is required.
Example: Viewing infrared images.
Insert the camera into the Type-C interface and wait for a moment.
Select [OK] in the pop-up window to authorize the use of an external sensor camera.
The shutter will be open and you can view the infrared image.
3.Auto Shutter
During use, the device has an automatic shutter correction function. Every 3 consecutive minutes of use, the device automatically pulls down the baffle to refresh the screen. In addition, when the device is called up (such as when powered on or starting to preview the screen), the baffle will also be pulled down to ensure that the first frame of the screen is clear. You can also manually press [Shutter Correction]. When you feel that the temperature is inaccurate or the screen is not clear enough, click the button icon![]()
in the upper left corner to manually correct the baffle.
4.Picture-in-picture image
Click the left button , a small button
![]() will be displayed on the right side, and clicking this button will display picture-in-picture image. The button is selected in yellow.
will be displayed on the right side, and clicking this button will display picture-in-picture image. The button is selected in yellow.
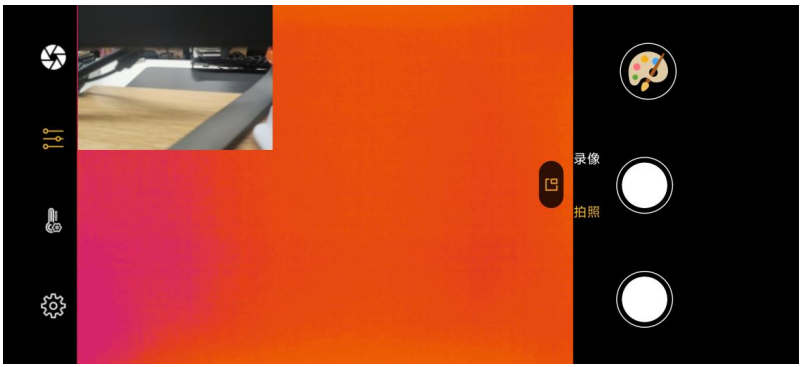
Fingers can be dragged while pressing on the visible light screen. Using two fingers to slide outward can enlarge the visible light screen, while sliding inward can shrink it.
5.Temperature Measurement Function
Click this button , and a series of buttons will show in the right side
![]() which are frame, line and point temperature measurement.
which are frame, line and point temperature measurement.
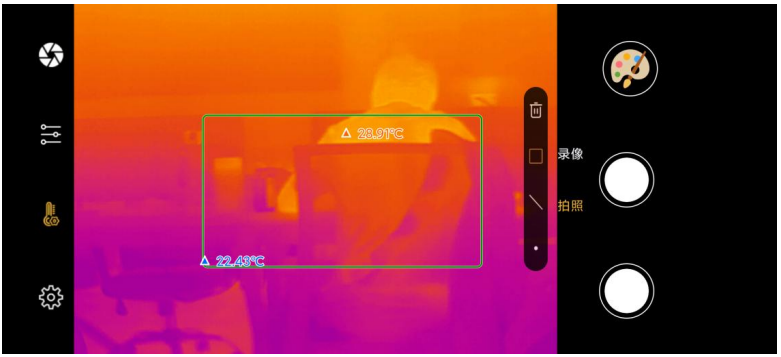
5.1 Box temp measurement:
After clicking on the rectangular box , it will turn yellow and be selected. Then, use your fingers to draw on the right screen, click on the screen, and drag your fingers. A temperature measurement area will be displayed on the screen, where high and low temperatures will be displayed.
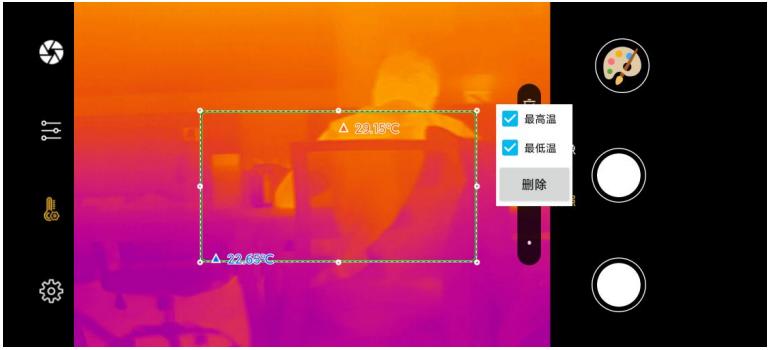
Clicking on the temperature measurement box will display a panel, which defaults to selecting the highest and lowest temperatures, as well as the delete button. Here, you can set not to display the highest or lowest temperature, or not to display temperature, or delete the current temperature measurement box.
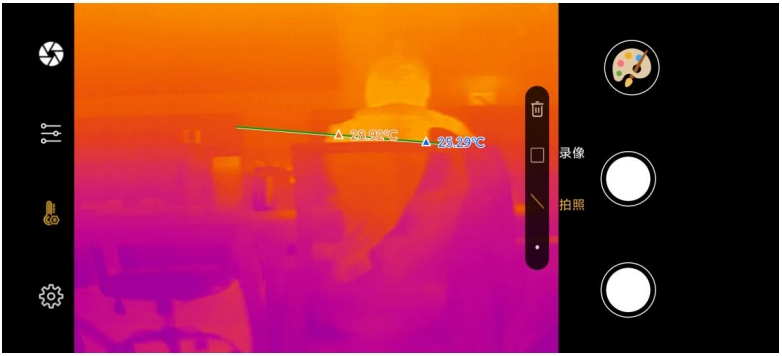
5.2 Line temp measurement:
To draw a line for temperature measurement, click the button and draw a straight line on the screen, which will display the highest and lowest temperatures.
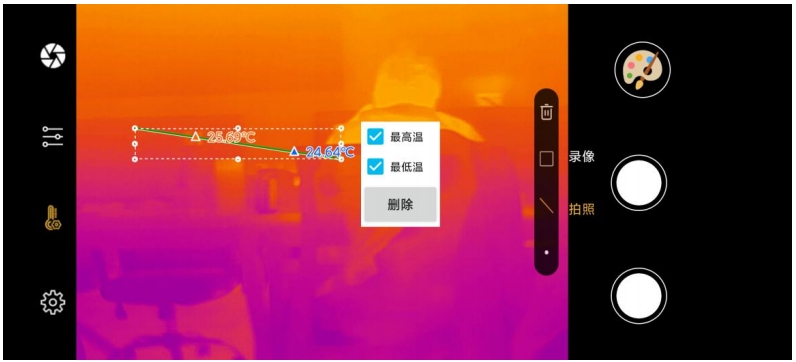
Clicking on the line will display a panel, which defaults to selecting the highest and lowest temperatures, as well as the delete button. Here, you can set not to display the highest or lowest temperature, or not to display temperature, or delete the current temperature measurement box.
2.3 Point temp measurement:
Click the button![]() , then click again on the screen to display the temperature at that point.
, then click again on the screen to display the temperature at that point.
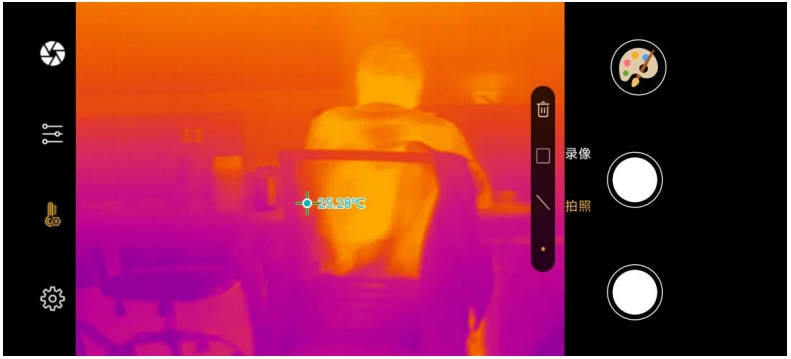
Clicking on this point will display a delete button, which can delete the current point.
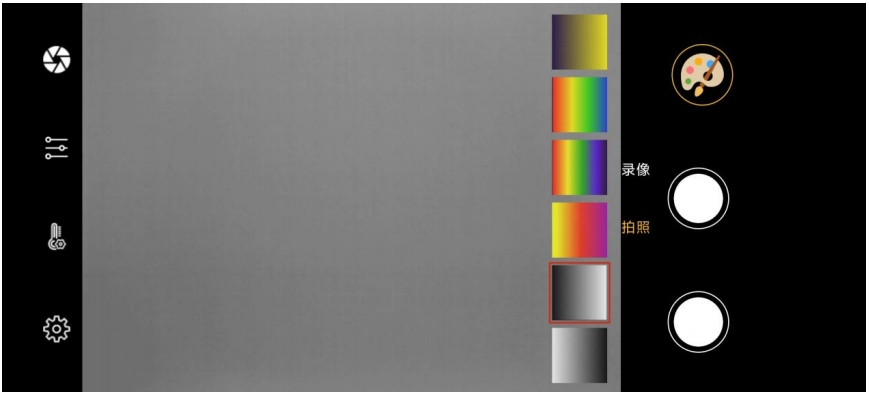
6. Change Pseudo Colors
The APP provides 6 pseudo color palettes, namely white hot, black hot, iron red, rainbow high contrast, iron gray, and when starting, the commonly used white hot palettes are used by default (it is recommended to switch to iron red in the power industry). To switch palettes, click the palette button and the corresponding palette tab will be displayed. You can select the corresponding palette to switch.
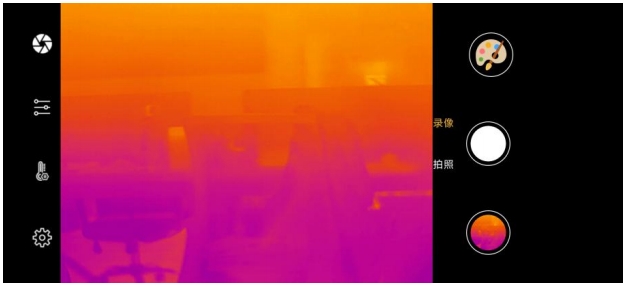
7. Photo and Video:
The photo taking function is selected by default and the selected status is yellow. You can click the button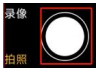 to take a photo. After taking a photo, it will be stored in the mobile phone's storage folder. The path is: Phone - Root directory\Infrared folder. If a photo is taken with a temperature measurement box, line, or point, the photo will include information such as the temperature measurement box, line, point, and temperature.
Select the button to start recording. The selection status is yellow, and you can also click the circle button on the rightto start recording. During the recording process, the button is red, and the maximum recording time is 3 minutes. After recording, the button status is reset to white. The recorded video will be stored in the phone's storage, and the storage path is the file ending in. mp4 in the folder of the phone's root directory \ Infrared.

8. Album Viewing
8.1. Album
Clicking the button in the bottom right corner  will redirect you to the album viewing interface.
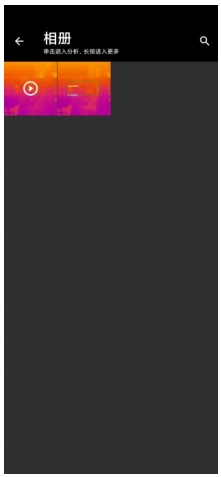
Here, you can view the photos and video information taken.
You can perform temperature measurement operations in these multimedia, such as creating a temperature measurement box in temperature measurement. Not only in photos, but also in videos. Example: View infrared image and video images in the device.
Click the [Library Management] button in the bottom right corner to enter the album interface.
- Swipe up and down (if there are many multimedia files, they may overflow the screen), click on the multimedia file you want to view, and enter the album interface.
- You can also slide left and right, these are the multimedia files you just saved.
- Slide to the video page and click [▶] The icon starts playing the video.
- Drag the slider to any timestamp and start playing the video from here.
- Click the [Pause] icon to stop playing the video.
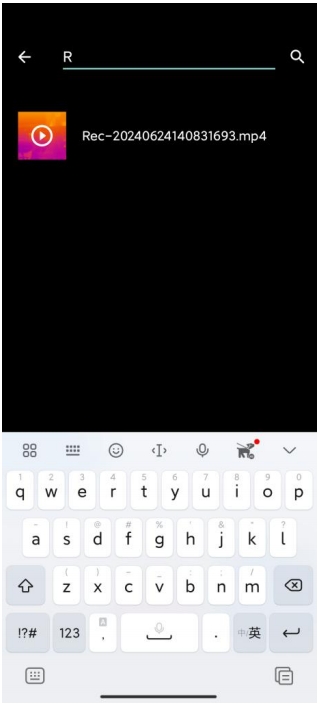
- situations with a large number of multimedia files, you can also use search to
- find them. Click on the upper right corner[ ], enter the search keyword, and all
- infrared files containing that keyword will be listed.
You can also rename these multimedia and click the "Save As…" icon on the left to save infrared images and videos. If the infrared image contains visible light thumbnails, it will be saved at the same time. The save directory is located in the/root directory/Informed.
8.2. Album Modification
You can manually save infrared images in different formats, supported image formats include JPG, PNG, and BMP, and video formats include MP4. Click to enter the multimedia file in the album, click on the third "Save As…" icon on the left, and choose a format to save. You can also delete the current file through the fourth [Delete] button.
9. Settings
Click the settings button in the bottom left corner![]() to jump to the settings page.
to jump to the settings page.
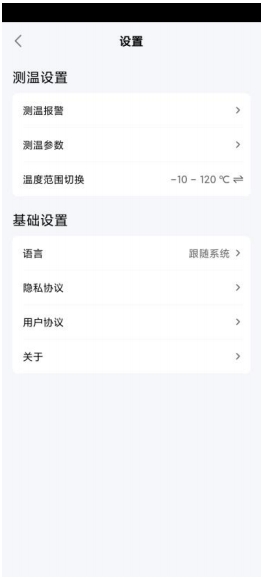
Click on [Temperature Alarm] to enter the interface and set the temperature alarm parameters. Slide the switch to turn on/off the over temperature alarm button, pull the slider, and adjust the threshold value of the alarm. Returning to the real-time analysis interface, among all analysis tools, any temperature measurement tool with a temperature higher than the threshold will be set to a red alarm state. At the same time, the phone will emit an alarm sound, and the image border will dynamically display an orange red alarm flashing alarm.

Click on [Temperature Measurement Parameters] to enter the interface and set some temperature measurement parameters.

Click on [Temperature Range Switching] to set the temperature range.
Click on [Language] to switch to the language.
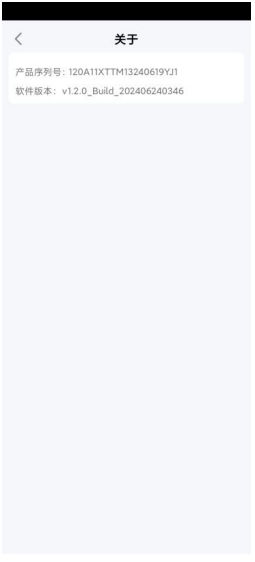
Click on "About" to view the product serial number and software version number.