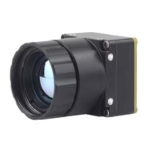
Mini 640 Неохлаждаемый LWIR тепловизионный модуль | Ультракомпактный 640×512 высокочувствительный тепловизор для дронов, промышленной инспекции и безопасности
22 мая 2026 г.
Руководство по модулям тепловизионных камер: выбор подходящего ядра LWIR для дронов, самостоятельных проектов и потоковой передачи в реальном времени
4 июня 2026 г.
Руководство по модулю тепловизионной камеры: выбор правильного неохлаждаемого ИК-сенсора для DIY, дронов и проектов на Linux
Послушайте, если вы провели последние несколько недель, перескакивая между темами на Reddit, списками на AliExpress и форумами по salvaged автомобильным запчастям в поисках модуль тепловизионной камеры который действительно поставляется с документацией, вы уже знаете эту боль. Вы находите плату с многообещающим сенсором — возможно, Tiny1-C, RTR-225M или salvaged блок ночного видения от автомобиля — и затем обнаруживаете, что нет драйвера для Linux, нет карты регистров, нет опубликованного формата кадров и нет спецификации вывода температуры. Внезапно ваш "проект на выходные" превращается в многомесячную экспедицию по sniffing протоколов, где вы исследуете линии данных логическим анализатором вместо того, чтобы строить дрон, прицел или робота, которого вы на самом деле хотели. Ставки реальны: одна неверная покупка может стоить вам месяцев wasted усилий и ящика, полного бесполезного оборудования.
Вот в чем дело. Это руководство написано с точки зрения OEM-производителя, который контролирует весь процесс проектирования — от детектора на микроболометре до прошивки. Это означает, что когда мы говорим о NETD, шаге пикселя, интерфейсных протоколах или радиометрической калибровке, мы описываем точные решения, которые мы принимаем на производственной площадке. В течение следующих 3000+ слов вы получите полную, vendor-нейтральную систему принятия решений: как на самом деле работают неохлаждаемые микроболометры, как читать реальный даташит (разрешение, NETD, шаг пикселя, частота кадров, поле зрения), как интегрировать модуль в Raspberry Pi, NVIDIA Jetson или Android, и, наконец, какой модуль подходит для дронов, прицелов, скрининга температуры и встраиваемых применений. Мы завершим конкретными рекомендациями по продуктам и загружаемыми ресурсами, чтобы вы могли перейти от исследования к интеграции за дни, а не годы.
Я видел достаточно неудачных сборок, чтобы сказать вам правду сразу: сенсор редко является проблемой. Проблема — документация к сенсору. Держите это в уме, пока читаете, потому что это определяет каждую рекомендацию здесь.
Давайте приступим.
Содержание
Примерное время чтения: 14 минут · Перейти к характеристикам продукта ➔
- 👉 Что такое модуль тепловизионной камеры?
- 👉 Как работают неохлаждаемые ИК-сенсоры: микроболометр
- 👉 Охлаждаемые и неохлаждаемые: что вам нужно?
- 👉 Расшифровка ключевых характеристик
- 👉 Типы интерфейсов: USB, CVBS, MIPI и SPI
- 👉 Интеграция с Linux, Raspberry Pi и Jetson
- 👉 Руководство по выбору для конкретных применений
- 👉 Наши модули тепловизионных камер (таблица характеристик)
- 👉 Радиометрическое измерение температуры: объяснение
- 👉 Распространенные ошибки при покупке, которых следует избегать
- 👉 Часто задаваемые вопросы
Что такое модуль тепловизионной камеры?
A модуль тепловизионной камеры представляет собой автономный узел, предназначенный для интеграции, а не для использования на полке розничного магазина. По своей сути он объединяет четыре ключевых элемента: инфракрасный детектор (матрицу в фокальной плоскости), специализированную оптику (обычно германиевую или халькогенидную линзу, прозрачную для длинноволнового инфракрасного излучения), интегральную схему считывания (ROIC), которая преобразует сигналы детектора в полезные данные, плату обработки изображений, которая выполняет коррекцию и улучшение, и выходной интерфейс, который передает видео или необработанные кадры в вашу хост-систему.
Вот различие, которое сбивает людей с толку. модуль — это не готовая тепловизионная камера. Готовая камера — это устройство в корпусе, готовое к использованию потребителем, с экраном, батареей и кожухом. Модуль, напротив, представляет собой продукт на уровне платы, спроектированный для встраивания в ваш продукт — подвес дрона, робот, киоск для измерения температуры или самодельная система на Raspberry Pi. Большинство неохлаждаемых модулей работают в длинноволновом инфракрасном (LWIR) диапазоне примерно 8–14 мкм, который является основным спектральным диапазоном для обнаружения тепла, излучаемого людьми, механизмами и окружающей средой.
Разбор основных компонентов
- ⚙️ Матрица детекторов: Неохлаждаемая микроболометр фокальная матрица, поглощающая ИК-излучение.
- ⚙️ Оптика: Линза из германия или халькогенидного стекла, разработанная для пропускания LWIR.
- ⚙️ ROIC: Считывает сигнал каждого пикселя и оцифровывает его.
- ⚙️ Конвейер изображения: Коррекция неоднородности (NUC) и автоматическая регулировка усиления (AGC) для получения чистого, стабильного изображения.
- ⚙️ Интерфейсная плата: Выводит USB/UVC, аналоговое видео CVBS, MIPI CSI-2 или управление SPI/I²C.
Почему модульность важна для OEM-производителей и создателей
Модульный подход дает вам три важные вещи: возможность встраивания, возможность запускать пользовательскую прошивку и свободу в выборе форм-фактора. Вы не привязаны к чужому корпусу или набору функций. Как для OEM-производителей, масштабирующих производство, так и для создателей, создающих прототип одного устройства, модуль с документированным интерфейсом — это основа, которая определяет, будет ли ваш проект успешно завершен за несколько недель или застопорится на неопределенный срок.
Как работают неохлаждаемые ИК-сенсоры: микроболометр
Физика элегантно проста, если изложить ее прямо. Каждый объект выше абсолютного нуля излучает инфракрасное излучение пропорционально своей температуре. Неохлаждаемая микроболометрическая матрица — это сетка крошечных, термически изолированных пикселей. Когда ИК-излучение попадает на пиксель, этот пиксель слегка нагревается, и его электрическое сопротивление изменяется. ROIC измеряет эти изменения сопротивления по всей матрице много раз в секунду и собирает их в карту тепловой интенсивности — изображение, которое вы видите, где более горячие области выглядят отличными от более холодных.
Материалы микроболометров — VOx против a-Si
В мире микроболометров доминируют два материала. Оксид ванадия (VOx) предлагает отличную чувствительность и зрелую производственную базу, обычно обеспечивая более низкий NETD (лучшее тепловое разрешение), но при более высокой сложности процесса. Аморфный кремний (a-Si) дешевле и проще в изготовлении с использованием стандартных полупроводниковых линий, с несколько более высоким уровнем шума в некоторых реализациях. Для большинства DIY, дронов и встраиваемых приложений практическая разница в производительности невелика, и хорошая калибровка на уровне прошивки значит гораздо больше, чем выбор исходного материала. Я много раз видел в мастерской, как хорошо настроенная плата на a-Si превосходит небрежную плату на VOx.
Шаг пикселя и почему меньше не всегда лучше
Шаг пикселя — расстояние между центрами пикселей, обычно 17 мкм или 12 мкм — часто понимают неправильно. Меньший шаг (12 мкм) позволяет упаковать больше пикселей в меньший, более легкий датчик и использовать меньшую, более дешевую линзу. Однако меньшие пиксели собирают меньше излучения, что может снизить чувствительность, если это не компенсируется конструкцией детектора. Шаг 17 мкм часто обеспечивает немного лучший сигнал на пиксель. "Правильный" шаг зависит от ваших приоритетов: компактность и вес (критично для дронов) против максимальной чувствительности на пиксель.
Коррекция неоднородности (NUC) и калибровка затвора
Никакие два пикселя в микроболометре не реагируют одинаково, поэтому каждый модуль периодически выполняет коррекцию неоднородности. Вы услышите слабый "щелчок" — это внутренний затвор закрывается, чтобы представить равномерный тепловой эталон, по которому прошивка перекалибровывает каждый пиксель. Качество этой процедуры NUC — вот что отличает профессиональный модуль от безымянной платы со свалки. Плохая NUC создает шум фиксированного рисунка и ореолы; хорошо настроенная NUC дает чистое, стабильное изображение. Поскольку мы управляем прошивкой самостоятельно, наша настройка NUC оптимизирована специально для наших детекторов — то, что вы просто не сможете воспроизвести с помощью реверс-инжиниринга автомобильных извлечений.
Охлаждаемые и неохлаждаемые тепловые модули: какой вам нужен?
| Attribute | Cooled | Uncooled |
|---|---|---|
| Cost | Very high (10–50×) | Affordable |
| Размер | Large (cryocooler) | Compact |
| Питание | Высокая | Low |
| Чувствительность (NETD) | Extremely high | Good (20–60 mK) |
| Спектральный диапазон | MWIR (common) | LWIR (8–14 µm) |
| Startup Time | Minutes (cooldown) | Instant-on |
| Lifespan | Limited by cooler | Long |
| Typical Use | Military, astronomy, gas detection | DIY, drone, robotics, screening |
For the audience reading this guide — makers, drone builders, robotics engineers, and embedded developers — uncooled is almost always the correct answer. Cooled systems exist for long-range military surveillance and scientific imaging, and they cost ten to fifty times more. I'm not going to sell you a cryocooler you don't need.
When Cooled Is Justified
Let me be honest and complete here: cooled detectors genuinely shine in long-range gas detection, certain astronomy applications, and ultra-long-range military targeting where you need to resolve tiny temperature differences across kilometers. If that describes your project, you already have a specialist budget. For everyone else, read on.
Why Uncooled Dominates DIY & Drone Builds
Uncooled modules require no cryocooler, draw minimal power (essential for battery-powered drones), turn on instantly, and fit into compact payloads. They're the practical, proven choice for virtually every project this guide addresses.
Key Specifications Decoded: How to Read a Thermal Module Datasheet
This is the highest-value section in the guide. Learn to read these six specs and you'll never get fooled by a misleading listing again.
Resolution (384×288, 256×192, 640×512)
Resolution is the pixel count of the detector. More pixels mean more detail and longer effective detection range. However, higher resolution increases cost dramatically. 384×288 is the sweet spot for cost versus performance — it provides ample detail for thermal scopes, drones, and machine vision without the premium of a 640×512 sensor.
NETD (Тепловая чувствительность)
NETD (Noise Equivalent Temperature Difference) is measured in millikelvin (mK) and describes the smallest temperature difference the sensor can distinguish from noise. Lower is better. A module rated under 40 mK produces crisp, low-noise imagery; one rated above 60 mK looks grainier, especially in scenes with subtle temperature variation. Many buyers obsess over resolution while ignoring NETD — that's a costly mistake, and I see it constantly.
Frame Rate (9 Hz vs 25/30/50 Hz)
Frame rate determines smoothness. The famous 9 Hz limit exists because higher frame rates can trigger export restrictions in some regions. For smooth real-time video — essential for drone tracking and fast scope panning — you want 25 Hz or higher where legally available. Choose deliberately based on your jurisdiction and use case.
Field of View (FOV) & Lens Focal Length
FOV is set by the lens focal length. A wide FOV is ideal for navigation and situational awareness, while a narrow FOV (longer focal length) concentrates pixels on distant targets for detection at range. Match the lens to your mission: wide for drone navigation, narrow for long-range identification.
Temperature Measurement Range & Accuracy
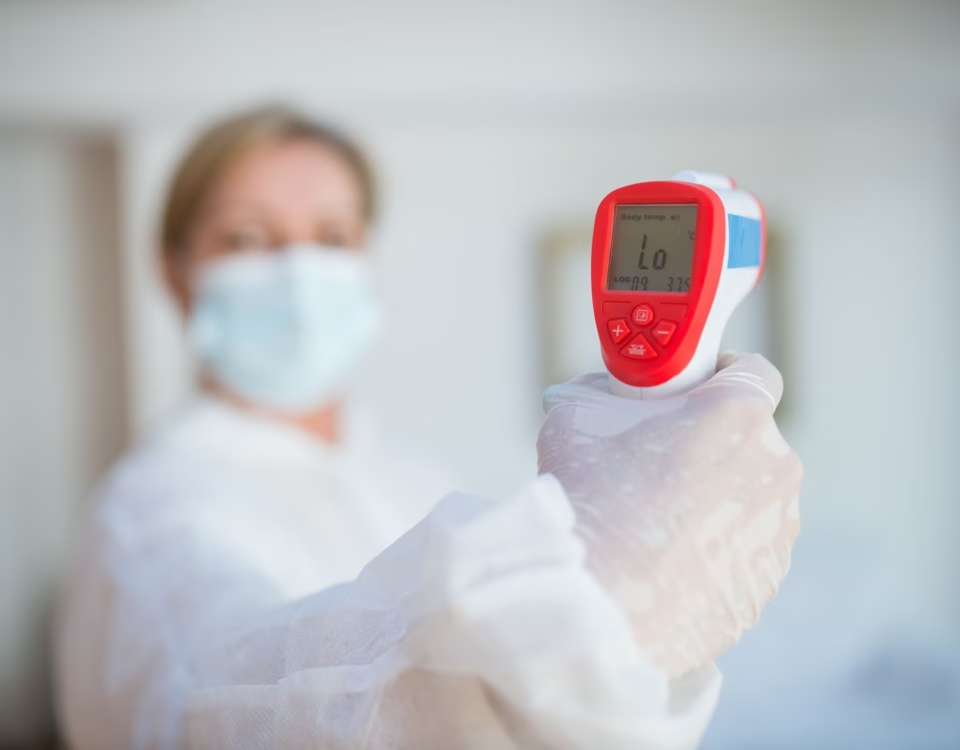
Radiometric modules specify a measurement range and accuracy, typically ±2°C or ±2% of reading. A radiometric module reports a calibrated temperature for every pixel; a non-radiometric module only produces a picture. If you need actual numbers — fever screening, predictive maintenance — radiometric is mandatory.
Power Consumption & Operating Temperature
For drones and embedded systems, every milliwatt and every degree of operating range matters. Check the module's power draw against your battery budget and its operating temperature range against your deployment environment.
⚡ Quick Spec Cheat Sheet
- ✅ Drone: 384×288, <40 mK NETD, CVBS/MIPI, low power, light weight.
- ✅ Thermal scope: 384×288+, 25–50 Hz, low latency (CVBS), narrow FOV.
- ✅ Robotics/AI: MIPI CSI-2, SDK, high frame rate for Jetson inference.
- ✅ Fever screening: Radiometric, ±0.3–0.5°C, blackbody-calibrated.
Want the real numbers? Download full datasheets and spec tables for every module from our Download Center.
Interface Types: USB, CVBS, MIPI & SPI Explained
Interface choice is the number-one cause of integration failure for hobbyists. The right sensor on the wrong interface is a dead end. Here's how to choose.
USB / UVC
USB modules that follow the UVC (USB Video Class) standard are genuinely plug-and-play across Linux, Windows, and Android. They're the easiest path for Raspberry Pi projects and phone add-ons. The caveat: not every "USB" module is truly UVC-compliant — verify before you buy.
CVBS (Analog Video)
CVBS is composite analog video. Our MINI module offers a CVBS option, which is ideal for FPV drone goggles and analog thermal scopes because it delivers extremely low latency — critical when you're piloting or tracking in real time. No driver stack, no software pipeline delay; just clean analog video into your display.
MIPI CSI-2
MIPI CSI-2 is a high-bandwidth interface native to the camera ports on NVIDIA Jetson and Raspberry Pi boards. It's the best choice for high-resolution, real-time AI pipelines where you need to feed frames directly into an inference engine. If you're building thermal object detection on NVIDIA Jetson, MIPI is your interface.
SPI / I²C
SPI and I²C give register-level control and access to raw data. These are for deep embedded developers who need to command the module directly and pull unprocessed frames. With proper documentation, this is enormously powerful; without it, it's a nightmare — which brings us to the central point.
The real differentiator is documentation. A documented interface plus a real SDK means integration in days. An undocumented interface — the situation with so many Tiny1-C and RTR-225M complaints — means months of reverse-engineering. Always choose published over reverse-engineered. I can't say that loudly enough.
Интеграция с Linux, Raspberry Pi и Jetson
Let's address the core technical intent directly: getting a thermal module working on Linux, streaming from a Raspberry Pi, and running AI on Jetson.
Driver & SDK Requirements
Before you buy, demand the following from any vendor: kernel-compatible Linux drivers, sample code, a published register map, and clear temperature-output documentation. If a vendor can't provide these, walk away. These four items are the difference between a working project and a paperweight.
Streaming Real-Time Thermal Video to a Raspberry Pi
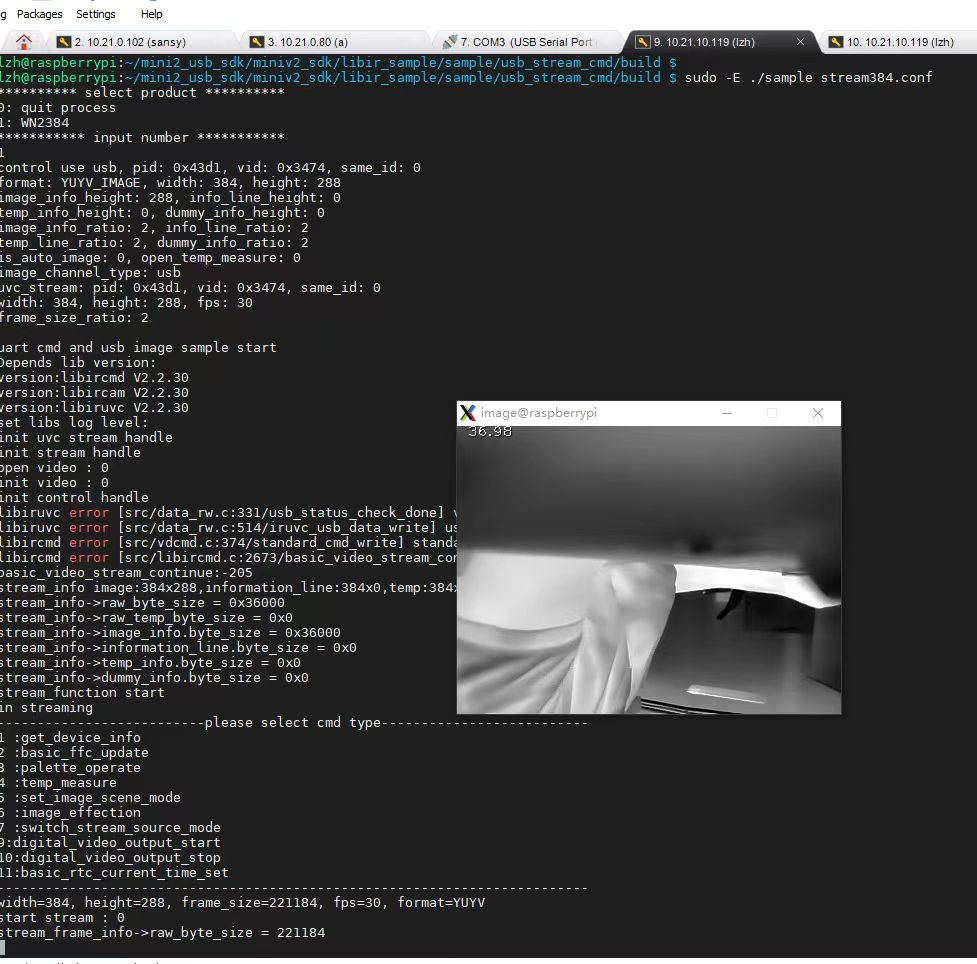
The practical workflow is straightforward when the hardware cooperates: connect the module via USB or MIPI, capture each frame through the driver, apply a color palette (ironbow, white-hot, rainbow), and display locally or stream over RTSP to a remote client. With a UVC module this can be as simple as opening the device with a standard capture library; with MIPI you configure the camera interface and pull frames at full frame rate.
Running Thermal AI on NVIDIA Jetson
For AI inference, MIPI's low latency lets you feed thermal frames straight into detection models running on the Jetson GPU — human detection, object tracking, and anomaly spotting in the thermal domain. This is the architecture behind modern thermal security and autonomous-navigation systems.
Avoiding the "Salvaged Car Module" Trap
Salvaged automotive night-vision modules are tempting because they're cheap, but they almost never come with an open API, drivers, or documentation. You'll spend months sniffing protocols. An OEM module with an open API saves you that time entirely. To see how concrete this can be, read our step-by-step RS300 Raspberry Pi driver setup guide — a working example of documented integration.
Use-Case Selection Guide: Drone, Scope, Robotics & Fever Screening
Use this decision-tree-style guide to match a module to your application.
Drone / UAV Airborne Payloads
Weight and power are everything. You want a compact, low-power module with CVBS for FPV (low latency) or MIPI for onboard AI. We recommend the MINI 384×288 for its multi-interface flexibility and small footprint.
DIY Thermal Scope Builds
Prioritize frame rate and low latency for smooth target acquisition, and select an appropriate FOV for your engagement range. CVBS output shines here. See the MINI module specs ➔
Robotics & Machine Vision
Choose MIPI plus a full SDK for integration with frameworks like ROS. Real-time frames and register-level control make the MINI module a strong fit for autonomous platforms. Compare modules ➔
Smartphone Thermal Imaging
For field temperature checks and instant thermal vision on the go, the XPro Android module turns your phone into a thermal imager via USB Type-C — no separate display needed.
Human Body Temperature / Fever Screening
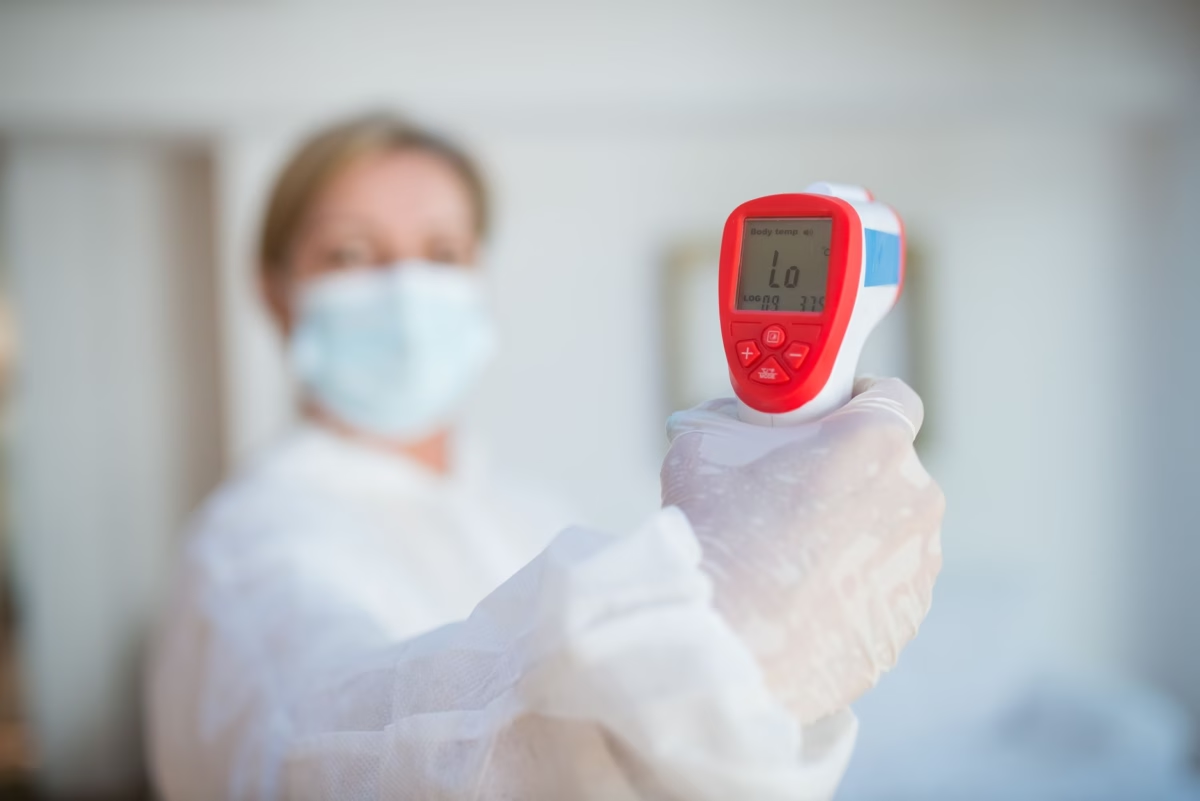
Radiometric accuracy and calibration are paramount. Pair a calibrated MINI module with a blackbody reference for screening-grade accuracy. View radiometric modules ➔
Ready to see everything? Browse our full thermal module catalog.
Радиометрическое измерение температуры: объяснение
The single most important capability distinction is radiometric versus non-radiometric. A Модули только для визуализации: module outputs a calibrated temperature value for every single pixel — you can click any point in the image and read its temperature. A non-radiometric module produces only a thermal-looking picture with no reliable temperature data behind it.
Emissivity & Why It Matters
Emissivity describes how efficiently a surface emits infrared radiation. Shiny metals have low emissivity and can read inaccurately; human skin has high emissivity (~0.98). A quality module lets you adjust the emissivity setting so the calculated temperature matches reality for the surface you're measuring. I've watched folks point a thermal camera at a polished pipe and get nonsense readings — that's emissivity biting them, not a broken sensor.
Calibration & Blackbody Referencing
Factory calibration against a blackbody reference — a source of precisely known, uniform temperature — is what enables ±2°C accuracy or better. This is a manufacturing-stage process; you cannot bolt it on later. OEM control over calibration is exactly why our modules deliver dependable numbers.
Use in Fever Screening & Predictive Maintenance
In predictive maintenance you scan motors, bearings, and electrical panels for hot spots that signal impending failure. In fever screening you measure skin temperature to flag elevated readings. Both demand radiometric output, and both benefit from controlled measurement distance and ambient compensation. Both our MINI and XPro modules ship with calibrated radiometric output.
Common Thermal Module Buying Mistakes to Avoid
- Buying salvaged automotive modules with no protocol docs. The cheap price hides months of reverse-engineering with no guarantee of success.
- Ignoring NETD and chasing resolution only. A high-resolution sensor with poor thermal sensitivity produces noisy, disappointing images.
- Assuming a USB module is automatically Linux/UVC compatible. Many are not — verify true UVC compliance before purchasing.
- Overlooking frame-rate export restrictions. The 9 Hz limit can blindside buyers who expected smooth 30 Hz video.
- No vendor engineering support or SDK. Without sample code and a register map, even a great sensor becomes unusable.
- Mismatched lens FOV for the intended range. A wide lens cannot detect distant targets; a narrow lens cannot navigate. Match optics to mission.
Avoid all six by working with an OEM that publishes specs, ships an SDK, and puts you in direct contact with the engineers who wrote the firmware.
Our Thermal Camera Modules: Specs & Comparison
Now that you understand interface, SDK, radiometric output, and form factor, here's how our two flagship products map onto those criteria. The MINI 384×288 is our board-level integration module for builders; the XPro is our instant phone add-on for field users.
| Характеристика | Uncooled MINI 384×288 Module | XPro Phone Thermal Camera |
|---|---|---|
| Product Type | Board-level IR module | Android phone add-on |
| Детектор | Uncooled microbolometer (LWIR) | Uncooled LWIR |
| Разрешение | 384 × 288 | LWIR thermal array |
| Измерение температуры | High-precision radiometric | Radiometric, on-screen temp |
| Интерфейсы | USB / CVBS / MIPI (multi-interface) | USB Type-C |
| Best For | Drones, scopes, robotics, machine vision, embedded | Mobile thermal imaging, field temp checks |
| SDK / Docs | Open API, Linux drivers, sample code | Plug-and-play app |
| Form Factor | Compact embeddable | Pocket clip-on |
| Platform | Raspberry Pi / Linux / Jetson / custom | Android (Type-C) |
Uncooled Mini 384×288 Thermal Camera Module For Drones
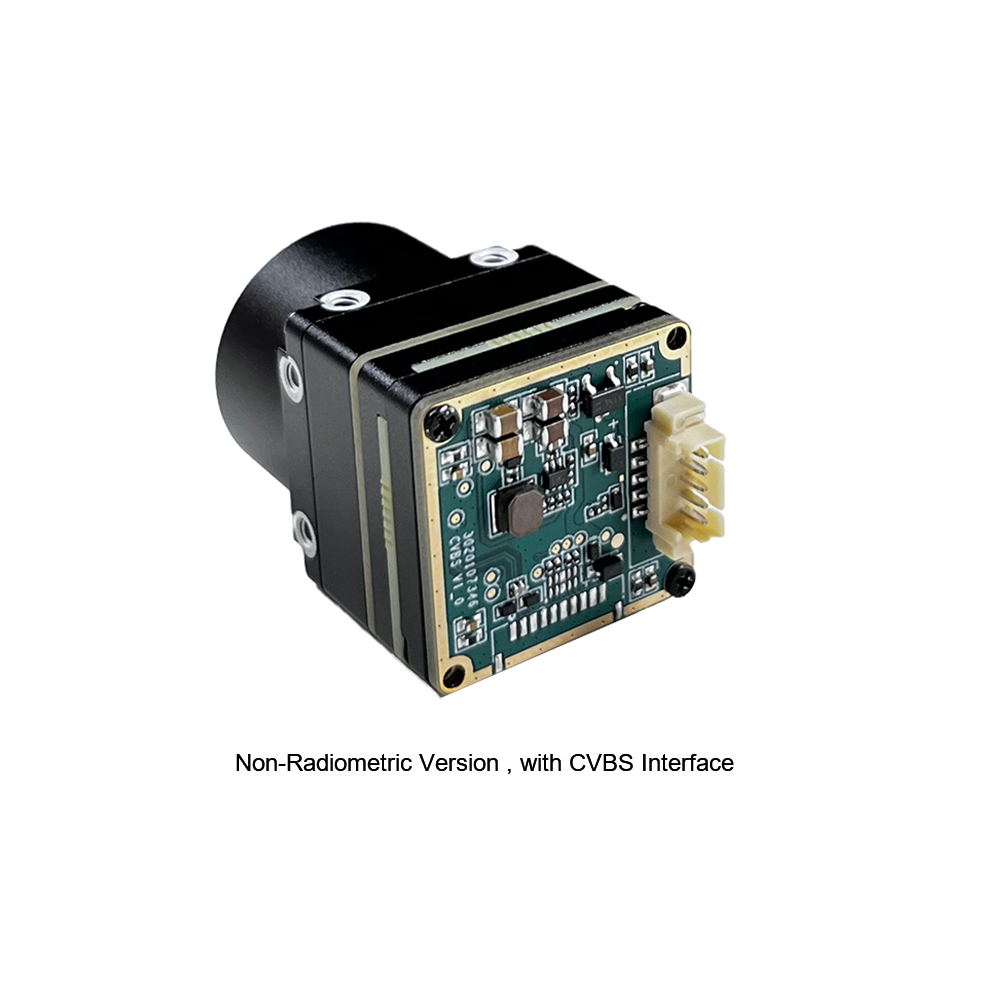
The MINI series infrared thermal imaging temperature measurement module is a high-precision, small-sized, and universal online temperature measurement infrared thermal imager. It uses high-quality detectors with high resolution, stable performance, and powerful functions. Equipped with multiple interfaces (USB, CVBS, MIPI), it is a preferred product across application fields such as machine vision, safety inspection, intelligent manufacturing, equipment maintenance, and robot/drone airborne payloads. Because we control the design from sensor to firmware, the frame format, register map, and Linux drivers are fully documented — making it the ideal choice for builders who refuse to waste months reverse-engineering anonymous boards.
Xpro Phone Thermal Camera — Temperature Measurement For Android

XPro Mini is a phone add-on thermal-imaging camera that can quickly turn your mobile phone into a thermal imager, letting you discover and measure temperature visually. It can see objects in the dark and easily detect the temperature of all objects around you. Connecting via USB Type-C, it requires no separate display or power supply — making it the perfect pocket tool for field temperature checks, home inspection, and rapid diagnostics. With on-screen radiometric readings, you get real numbers, not just pretty pictures.
Download full datasheets for both modules from our Download Center.
Часто задаваемые вопросы
I want to build a DIY thermal scope or stream real-time high-res thermal video to a Raspberry Pi—which Chinese thermal camera module actually works?
Many Reddit users complain that modules like the Tiny1-C or RTR-225M lack Linux drivers and clear documentation. Do your modules support Linux and provide development resources?
I need a thermal module for accurate human body temperature checking—can your module measure temperature reliably and small enough to embed?
📚 Ссылки и дополнительная литература
- Отраслевой стандарт: Wikipedia — Microbolometer
- Отраслевой стандарт: NVIDIA Jetson Embedded Computing
- Связанное руководство: Драйвер тепловизионной камеры RS300 для Raspberry Pi
- Resources: Download Center — Datasheets & SDKs
- Catalog: Browse All Thermal Camera Modules