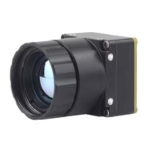
موديول كاميرا حرارية LWIR غير مبردة Mini 640 | تصوير حراري فائق الصغر 640×512 عالي الحساسية للطائرات بدون طيار والفحص الصناعي والأمن
٣. ٢٢ مايو ٢٠٢٦
دليل وحدة كاميرا التصوير الحراري: اختيار نواة LWIR المناسبة للطائرات بدون طيار والبناء الذاتي والبث المباشر
٢. ٤ يونيو ٢٠٢٦
دليل وحدة الكاميرا الحرارية: اختيار مستشعر الأشعة تحت الحمراء غير المبرد المناسب لمشاريع DIY والطائرات بدون طيار ولينكس
انظر، إذا كنت قد أمضيت الأسابيع القليلة الماضية تتنقل بين مناقشات Reddit وقوائم AliExpress ومنتديات قطع غيار السيارات المستعملة محاولًا العثور على وحدة الكاميرا الحرارية وحدة تُشحن مع وثائق فعلية، فأنت تعرف الألم بالفعل. تجد لوحة بمستشعر واعد — ربما Tiny1-C أو RTR-225M أو وحدة رؤية ليلية مستخرجة من سيارة — ثم تكتشف أنه لا يوجد تعريف لينكس، ولا خريطة سجلات، ولا تنسيق إطار منشور، ولا مواصفات لخرج درجة الحرارة. فجأة يتحول "مشروع نهاية الأسبوع" إلى رحلة استكشاف لاعتراض البروتوكولات تمتد لعدة أشهر، حيث تفحص خطوط البيانات بمحلل منطقي بدلًا من بناء الطائرة بدون طيار أو المنظار أو الروبوت الذي أردته فعلًا. المخاطر حقيقية: عملية شراء واحدة خاطئة قد تكلفك شهورًا من الجهد الضائع ودرجًا مليئًا بالأجهزة غير المفيدة.
إليك الأمر. هذا الدليل مكتوب من منظور مُصنّع أصلي يتحكم في خط أنابيب التصميم بالكامل — من كاشف الميكروبولومتر وصولًا إلى البرنامج الثابت. هذا يعني أننا عندما نتحدث عن NETD أو تباعد البكسل أو بروتوكولات الواجهة أو المعايرة الإشعاعية، فإننا نصف القرارات الدقيقة التي نتخذها في أرضية الإنتاج. خلال أكثر من 3000 كلمة قادمة، ستحصل على إطار عمل كامل ومحايد لاتخاذ القرار: كيف تعمل الميكروبولومترات غير المبردة فعليًا، وكيف تقرأ ورقة بيانات حقيقية (الدقة، NETD، تباعد البكسل، معدل الإطارات، مجال الرؤية)، وكيف تدمج وحدة في Raspberry Pi أو NVIDIA Jetson أو Android، وأخيرًا أي وحدة تناسب الطائرات بدون طيار والمناظير وفحص الحمى وحالات الاستخدام المضمنة. سنختتم بتوصيات منتجات ملموسة وموارد قابلة للتنزيل لتتمكن من الانتقال من البحث إلى التكامل في أيام، وليس سنوات.
لقد مررت بما يكفي من عمليات البناء الفاشلة لأخبرك الحقيقة مقدمًا: نادرًا ما يكون المستشعر هو المشكلة. الوثائق المحيطة بالمستشعر هي المشكلة. أبقِ ذلك في ذهنك وأنت تقرأ، لأنه يشكل كل توصية هنا.
دعنا ندخل في الموضوع.
جدول المحتويات
وقت القراءة المقدر: 14 دقيقة · انتقل إلى مواصفات المنتج ➔
- 👉 ما هي وحدة الكاميرا الحرارية؟
- 👉 كيف تعمل مستشعرات الأشعة تحت الحمراء غير المبردة: الميكروبولومتر
- 👉 المبردة مقابل غير المبردة: أيهما تحتاج؟
- 👉 فك رموز المواصفات الرئيسية
- 👉 أنواع الواجهات: USB و CVBS و MIPI و SPI
- 👉 التكامل مع لينكس و Raspberry Pi و Jetson
- 👉 دليل اختيار حالة الاستخدام
- 👉 وحدات الكاميرا الحرارية لدينا (جدول المواصفات)
- 👉 شرح قياس درجة الحرارة الإشعاعي
- 👉 أخطاء شراء شائعة يجب تجنبها
- 👉 أسئلة متكررة
ما هي وحدة الكاميرا الحرارية؟
A وحدة الكاميرا الحرارية هي مجموعة فرعية قائمة بذاتها مصممة للتكامل بدلًا من الاستخدام على رفوف البيع بالتجزئة. تجمع في جوهرها أربعة عناصر رئيسية: كاشف الأشعة تحت الحمراء (مصفوفة المستوى البؤري)، وبصريات متخصصة (عادةً عدسة من الجرمانيوم أو الكالكوجينيد شفافة للأشعة تحت الحمراء طويلة الموجة)، ودائرة متكاملة للقراءة (ROIC) تحول إشارات الكاشف إلى بيانات قابلة للاستخدام، ولوحة معالجة صور تتعامل مع التصحيح والتحسين، وواجهة خرج تقدم فيديو أو إطارات خام إلى نظامك المضيف.
إليك التمييز الذي يوقع الناس في الخطأ. الوحدة ليست كاميرا حرارية مكتملة. الكاميرا المكتملة هي جهاز مُغلف وجاهز للمستهلك بشاشة وبطارية وهيكل. الوحدة، بالمقابل، هي منتج على مستوى اللوحة مصمم ليُدمج داخل منتجك المنتج — محور تثبيت لطائرة بدون طيار، أو روبوت، أو كشك فحص الحمى، أو إعداد مخصص لـ Raspberry Pi. تعمل معظم الوحدات غير المبردة في نطاق الأشعة تحت الحمراء طويلة الموجة (LWIR) الذي يتراوح تقريبًا بين 8–14 ميكرومتر، وهو النطاق الطيفي السائد للكشف عن الحرارة المنبعثة من الأشخاص والآلات والبيئة الطبيعية.
تفصيل المكونات الأساسية
- ⚙️ مصفوفة الكاشف: مصفوفة الميكروبولومتر المستوية البؤرية غير المبردة التي تمتص إشعاع الأشعة تحت الحمراء.
- ⚙️ البصريات: عدسة من الجرمانيوم أو الكالكوجينيد مصممة لنقل الأشعة تحت الحمراء طويلة الموجة.
- ⚙️ العائد على رأس المال المستثمر: يقرأ إشارة كل بكسل ويرقمنها.
- ⚙️ خط أنابيب الصورة: تصحيح عدم الانتظام (NUC) والتحكم التلقائي في الكسب (AGC) للحصول على صورة نظيفة ومستقرة.
- ⚙️ لوحة الواجهة: تخرج USB/UVC، أو فيديو تمثيلي CVBS، أو MIPI CSI-2، أو تحكم SPI/I²C.
لماذا النهج المعياري مهم لمصنعي المعدات الأصلية والمبتكرين
يمنحك النهج المعياري ثلاث ميزات مهمة: قابلية التضمين، والقدرة على تشغيل برامج ثابتة مخصصة، والحرية في عامل الشكل. أنت لست مقيدًا بغلاف شخص آخر أو مجموعة ميزاته. بالنسبة لمصنعي المعدات الأصلية الذين يوسعون الإنتاج والمبتكرين الذين يصنعون نماذج أولية لوحدة واحدة على حد سواء، فإن الوحدة ذات الواجهة الموثقة هي الأساس الذي يحدد ما إذا كان مشروعك سينجح في أسابيع أو سيتوقف إلى أجل غير مسمى.
كيف تعمل مستشعرات الأشعة تحت الحمراء غير المبردة: الميكروبولومتر
الفيزياء بسيطة بشكل أنيق بمجرد ذكرها بوضوح. كل جسم فوق الصفر المطلق يصدر إشعاعًا تحت الأحمر يتناسب مع درجة حرارته. مصفوفة الميكروبولومتر غير المبردة هي شبكة من البكسلات الصغيرة المعزولة حراريًا. عندما يصطدم إشعاع الأشعة تحت الحمراء ببكسل، يسخن ذلك البكسل قليلاً، وتتغير مقاومته الكهربائية. يقيس ROIC هذه التغيرات في المقاومة عبر المصفوفة بأكملها عدة مرات في الثانية ويجمعها في خريطة شدة حرارية — الصورة التي تراها، حيث تظهر المناطق الأكثر سخونة مميزة عن المناطق الأبرد.
مواد الميكروبولومتر — VOx مقابل a-Si
تهيمن مادتان على عالم الميكروبولومتر. أكسيد الفاناديوم (VOx) توفر حساسية ممتازة وقاعدة تصنيع ناضجة، وعادةً ما تقدم NETD أقل (دقة حرارية أفضل) ولكن بتعقيد معالجة أعلى. السيليكون غير المتبلور (a-Si) أرخص وأسهل في التصنيع باستخدام خطوط أشباه الموصلات القياسية، مع ضوضاء أعلى قليلاً في بعض التطبيقات. بالنسبة لمعظم تطبيقات DIY والطائرات بدون طيار والتطبيقات المضمنة، فإن فجوة الأداء العملي صغيرة، والمعايرة الجيدة على مستوى البرامج الثابتة أهم بكثير من اختيار المادة الخام. لقد رأيت لوحة a-Si مضبوطة جيدًا تتفوق على لوحة VOx رديئة مرات عديدة في الورشة.
تباعد البكسل ولماذا الأصغر ليس دائمًا أفضل
تباعد البكسل — المسافة من المركز إلى المركز بين البكسلات، وعادةً ما تكون 17 ميكرومتر أو 12 ميكرومتر — غالبًا ما يُساء فهمه. التباعد الأصغر (12 ميكرومتر) يسمح لك بتعبئة المزيد من البكسلات في مستشعر أصغر وأخف وزنًا واستخدام عدسة أصغر وأرخص. ومع ذلك، تجمع البكسلات الأصغر إشعاعًا أقل، مما قد يقلل الحساسية ما لم يتم تعويض ذلك بتصميم الكاشف. غالبًا ما يقدم تباعد 17 ميكرومتر إشارة أفضل قليلاً لكل بكسل. يعتمد التباعد "الصحيح" على أولوياتك: الاكتناز والوزن (ضروريان للطائرات بدون طيار) مقابل أقصى حساسية لكل بكسل.
تصحيح عدم الانتظام (NUC) ومعايرة الغالق
لا يستجيب أي بكسلين في الميكروبولومتر بشكل متماثل، لذا تقوم كل وحدة بشكل دوري بتصحيح عدم الانتظام. ستسمع "نقرة" خافتة — هذا هو صوت إغلاق المصراع الداخلي لتقديم مرجع حراري منتظم، حيث تقوم البرامج الثابتة بإعادة معايرة كل بكسل بناءً عليه. جودة روتين تصحيح عدم الانتظام هذا هي ما يميز الوحدة الاحترافية عن اللوحة المستخرجة مجهولة المصدر. ينتج عن تصحيح عدم الانتظام الرديء ضوضاء نمطية ثابتة وتشويش؛ بينما ينتج عن تصحيح عدم الانتظام المضبوط جيدًا صورة نظيفة ومستقرة. نظرًا لأننا نتحكم في البرامج الثابتة داخليًا، فإن ضبط تصحيح عدم الانتظام لدينا مُحسَّن خصيصًا لكاشفاتنا — وهو أمر لا يمكنك ببساطة تكراره مع القطع المستخرجة من السيارات والمعاد هندستها عكسيًا.
Cooled vs. Uncooled Thermal Modules: Which Do You Need?
| Attribute | Cooled | Uncooled |
|---|---|---|
| Cost | Very high (10–50×) | Affordable |
| الحجم | Large (cryocooler) | Compact |
| الطاقة | مرتفع | Low |
| Sensitivity (NETD) | Extremely high | Good (20–60 mK) |
| النطاق الطيفي | MWIR (common) | LWIR (8–14 µm) |
| Startup Time | Minutes (cooldown) | Instant-on |
| Lifespan | Limited by cooler | Long |
| Typical Use | Military, astronomy, gas detection | DIY, drone, robotics, screening |
For the audience reading this guide — makers, drone builders, robotics engineers, and embedded developers — uncooled is almost always the correct answer. Cooled systems exist for long-range military surveillance and scientific imaging, and they cost ten to fifty times more. I'm not going to sell you a cryocooler you don't need.
When Cooled Is Justified
Let me be honest and complete here: cooled detectors genuinely shine in long-range gas detection, certain astronomy applications, and ultra-long-range military targeting where you need to resolve tiny temperature differences across kilometers. If that describes your project, you already have a specialist budget. For everyone else, read on.
Why Uncooled Dominates DIY & Drone Builds
Uncooled modules require no cryocooler, draw minimal power (essential for battery-powered drones), turn on instantly, and fit into compact payloads. They're the practical, proven choice for virtually every project this guide addresses.
Key Specifications Decoded: How to Read a Thermal Module Datasheet
This is the highest-value section in the guide. Learn to read these six specs and you'll never get fooled by a misleading listing again.
Resolution (384×288, 256×192, 640×512)
Resolution is the pixel count of the detector. More pixels mean more detail and longer effective detection range. However, higher resolution increases cost dramatically. 384×288 is the sweet spot for cost versus performance — it provides ample detail for thermal scopes, drones, and machine vision without the premium of a 640×512 sensor.
NETD (الحساسية الحرارية)
NETD (Noise Equivalent Temperature Difference) is measured in millikelvin (mK) and describes the smallest temperature difference the sensor can distinguish from noise. Lower is better. A module rated under 40 mK produces crisp, low-noise imagery; one rated above 60 mK looks grainier, especially in scenes with subtle temperature variation. Many buyers obsess over resolution while ignoring NETD — that's a costly mistake, and I see it constantly.
Frame Rate (9 Hz vs 25/30/50 Hz)
Frame rate determines smoothness. The famous 9 Hz limit exists because higher frame rates can trigger export restrictions in some regions. For smooth real-time video — essential for drone tracking and fast scope panning — you want 25 Hz or higher where legally available. Choose deliberately based on your jurisdiction and use case.
Field of View (FOV) & Lens Focal Length
FOV is set by the lens focal length. A wide FOV is ideal for navigation and situational awareness, while a narrow FOV (longer focal length) concentrates pixels on distant targets for detection at range. Match the lens to your mission: wide for drone navigation, narrow for long-range identification.
Temperature Measurement Range & Accuracy
Radiometric modules specify a measurement range and accuracy, typically ±2°C or ±2% of reading. A radiometric module reports a calibrated temperature for every pixel; a non-radiometric module only produces a picture. If you need actual numbers — fever screening, predictive maintenance — radiometric is mandatory.
Power Consumption & Operating Temperature
For drones and embedded systems, every milliwatt and every degree of operating range matters. Check the module's power draw against your battery budget and its operating temperature range against your deployment environment.
⚡ Quick Spec Cheat Sheet
- ✅ Drone: 384×288, <40 mK NETD, CVBS/MIPI, low power, light weight.
- ✅ Thermal scope: 384×288+, 25–50 Hz, low latency (CVBS), narrow FOV.
- ✅ Robotics/AI: MIPI CSI-2, SDK, high frame rate for Jetson inference.
- ✅ Fever screening: Radiometric, ±0.3–0.5°C, blackbody-calibrated.
Want the real numbers? Download full datasheets and spec tables for every module from our Download Center.
Interface Types: USB, CVBS, MIPI & SPI Explained
Interface choice is the number-one cause of integration failure for hobbyists. The right sensor on the wrong interface is a dead end. Here's how to choose.
USB / UVC
USB modules that follow the UVC (USB Video Class) standard are genuinely plug-and-play across Linux, Windows, and Android. They're the easiest path for Raspberry Pi projects and phone add-ons. The caveat: not every "USB" module is truly UVC-compliant — verify before you buy.
CVBS (Analog Video)
CVBS is composite analog video. Our MINI module offers a CVBS option, which is ideal for FPV drone goggles and analog thermal scopes because it delivers extremely low latency — critical when you're piloting or tracking in real time. No driver stack, no software pipeline delay; just clean analog video into your display.
MIPI CSI-2
MIPI CSI-2 is a high-bandwidth interface native to the camera ports on NVIDIA Jetson and Raspberry Pi boards. It's the best choice for high-resolution, real-time AI pipelines where you need to feed frames directly into an inference engine. If you're building thermal object detection on إنفيديا جيتسون, MIPI is your interface.
SPI / I²C
SPI and I²C give register-level control and access to raw data. These are for deep embedded developers who need to command the module directly and pull unprocessed frames. With proper documentation, this is enormously powerful; without it, it's a nightmare — which brings us to the central point.
The real differentiator is documentation. A documented interface plus a real SDK means integration in days. An undocumented interface — the situation with so many Tiny1-C and RTR-225M complaints — means months of reverse-engineering. Always choose published over reverse-engineered. I can't say that loudly enough.
التكامل مع لينكس و Raspberry Pi و Jetson
Let's address the core technical intent directly: getting a thermal module working on Linux, streaming from a Raspberry Pi, and running AI on Jetson.
Driver & SDK Requirements
Before you buy, demand the following from any vendor: kernel-compatible Linux drivers, sample code, a published register map, and clear temperature-output documentation. If a vendor can't provide these, walk away. These four items are the difference between a working project and a paperweight.
Streaming Real-Time Thermal Video to a Raspberry Pi
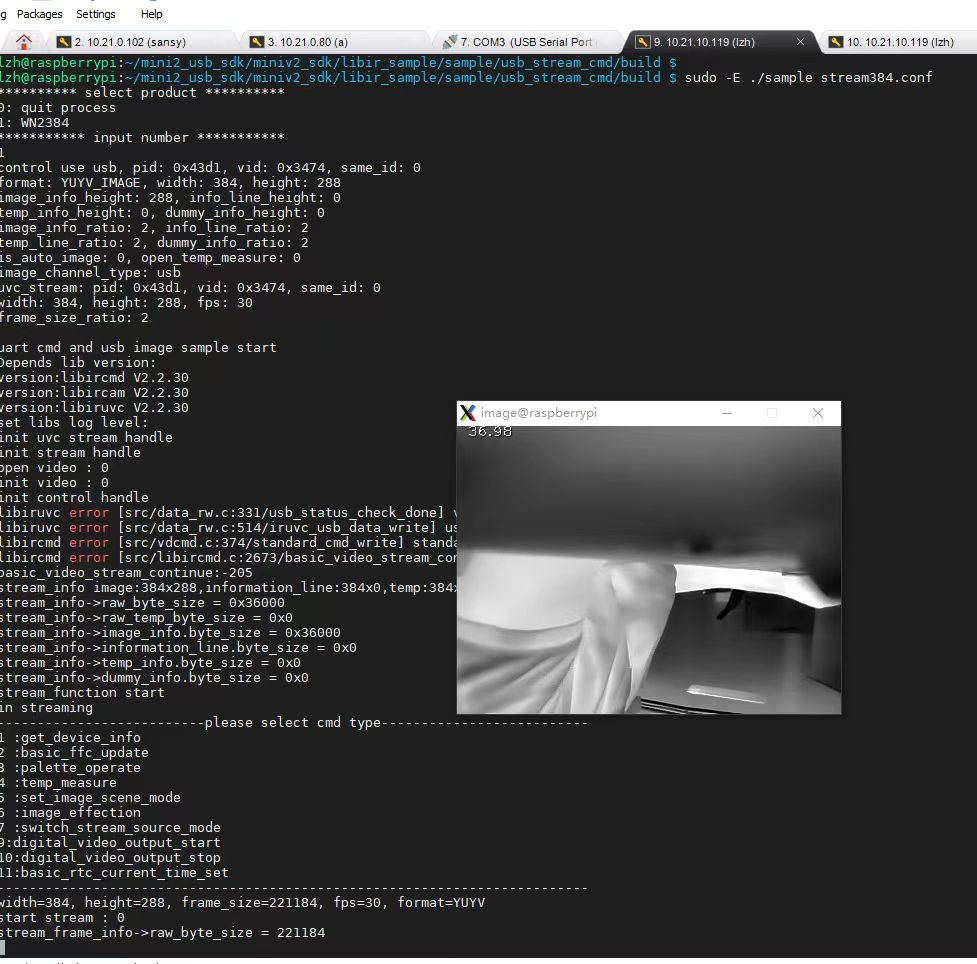
The practical workflow is straightforward when the hardware cooperates: connect the module via USB or MIPI, capture each frame through the driver, apply a color palette (ironbow, white-hot, rainbow), and display locally or stream over RTSP to a remote client. With a UVC module this can be as simple as opening the device with a standard capture library; with MIPI you configure the camera interface and pull frames at full frame rate.
Running Thermal AI on NVIDIA Jetson
For AI inference, MIPI's low latency lets you feed thermal frames straight into detection models running on the Jetson GPU — human detection, object tracking, and anomaly spotting in the thermal domain. This is the architecture behind modern thermal security and autonomous-navigation systems.
Avoiding the "Salvaged Car Module" Trap
Salvaged automotive night-vision modules are tempting because they're cheap, but they almost never come with an open API, drivers, or documentation. You'll spend months sniffing protocols. An OEM module with an open API saves you that time entirely. To see how concrete this can be, read our step-by-step RS300 Raspberry Pi driver setup guide — a working example of documented integration.
Use-Case Selection Guide: Drone, Scope, Robotics & Fever Screening
Use this decision-tree-style guide to match a module to your application.
Drone / UAV Airborne Payloads
Weight and power are everything. You want a compact, low-power module with CVBS for FPV (low latency) or MIPI for onboard AI. We recommend the MINI 384×288 for its multi-interface flexibility and small footprint.
DIY Thermal Scope Builds
Prioritize frame rate and low latency for smooth target acquisition, and select an appropriate FOV for your engagement range. CVBS output shines here. See the MINI module specs ➔
Robotics & Machine Vision
Choose MIPI plus a full SDK for integration with frameworks like ROS. Real-time frames and register-level control make the MINI module a strong fit for autonomous platforms. Compare modules ➔
Smartphone Thermal Imaging
For field temperature checks and instant thermal vision on the go, the XPro Android module turns your phone into a thermal imager via USB Type-C — no separate display needed.
Human Body Temperature / Fever Screening
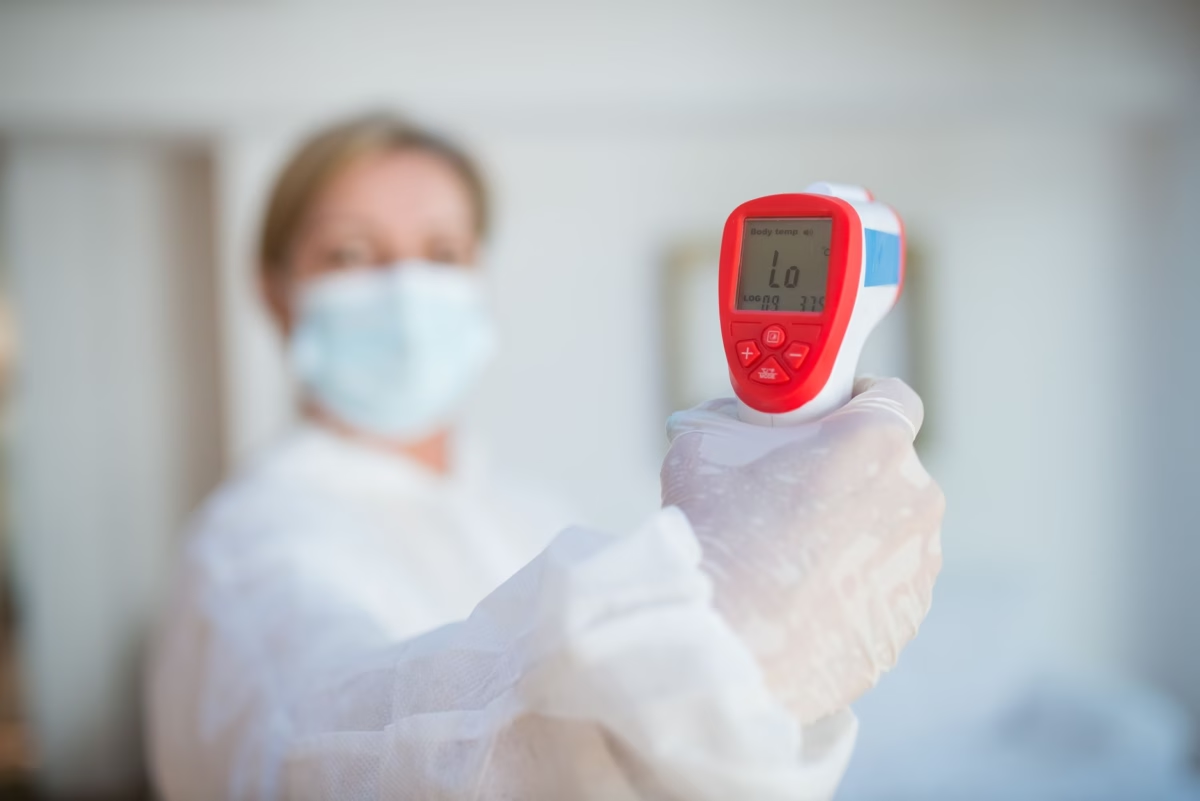
Radiometric accuracy and calibration are paramount. Pair a calibrated MINI module with a blackbody reference for screening-grade accuracy. View radiometric modules ➔
Ready to see everything? Browse our full thermal module catalog.
شرح قياس درجة الحرارة الإشعاعي
The single most important capability distinction is radiometric versus non-radiometric. A الوحدات الإشعاعية module outputs a calibrated temperature value for every single pixel — you can click any point in the image and read its temperature. A non-radiometric module produces only a thermal-looking picture with no reliable temperature data behind it.
Emissivity & Why It Matters
Emissivity describes how efficiently a surface emits infrared radiation. Shiny metals have low emissivity and can read inaccurately; human skin has high emissivity (~0.98). A quality module lets you adjust the emissivity setting so the calculated temperature matches reality for the surface you're measuring. I've watched folks point a thermal camera at a polished pipe and get nonsense readings — that's emissivity biting them, not a broken sensor.
Calibration & Blackbody Referencing
Factory calibration against a blackbody reference — a source of precisely known, uniform temperature — is what enables ±2°C accuracy or better. This is a manufacturing-stage process; you cannot bolt it on later. OEM control over calibration is exactly why our modules deliver dependable numbers.
Use in Fever Screening & Predictive Maintenance
In predictive maintenance you scan motors, bearings, and electrical panels for hot spots that signal impending failure. In fever screening you measure skin temperature to flag elevated readings. Both demand radiometric output, and both benefit from controlled measurement distance and ambient compensation. Both our MINI and XPro modules ship with calibrated radiometric output.
Common Thermal Module Buying Mistakes to Avoid
- Buying salvaged automotive modules with no protocol docs. The cheap price hides months of reverse-engineering with no guarantee of success.
- Ignoring NETD and chasing resolution only. A high-resolution sensor with poor thermal sensitivity produces noisy, disappointing images.
- Assuming a USB module is automatically Linux/UVC compatible. Many are not — verify true UVC compliance before purchasing.
- Overlooking frame-rate export restrictions. The 9 Hz limit can blindside buyers who expected smooth 30 Hz video.
- No vendor engineering support or SDK. Without sample code and a register map, even a great sensor becomes unusable.
- Mismatched lens FOV for the intended range. A wide lens cannot detect distant targets; a narrow lens cannot navigate. Match optics to mission.
Avoid all six by working with an OEM that publishes specs, ships an SDK, and puts you in direct contact with the engineers who wrote the firmware.
Our Thermal Camera Modules: Specs & Comparison
Now that you understand interface, SDK, radiometric output, and form factor, here's how our two flagship products map onto those criteria. The MINI 384×288 is our board-level integration module for builders; the XPro is our instant phone add-on for field users.
| الميزة | Uncooled MINI 384×288 Module | XPro Phone Thermal Camera |
|---|---|---|
| Product Type | Board-level IR module | Android phone add-on |
| الكاشف | Uncooled microbolometer (LWIR) | Uncooled LWIR |
| الدقة | 384 × 288 | LWIR thermal array |
| قياس درجة الحرارة | High-precision radiometric | Radiometric, on-screen temp |
| Interfaces | USB / CVBS / MIPI (multi-interface) | USB Type-C |
| Best For | Drones, scopes, robotics, machine vision, embedded | Mobile thermal imaging, field temp checks |
| SDK / Docs | Open API, Linux drivers, sample code | Plug-and-play app |
| Form Factor | Compact embeddable | Pocket clip-on |
| Platform | Raspberry Pi / Linux / Jetson / custom | Android (Type-C) |
Uncooled Mini 384×288 Thermal Camera Module For Drones
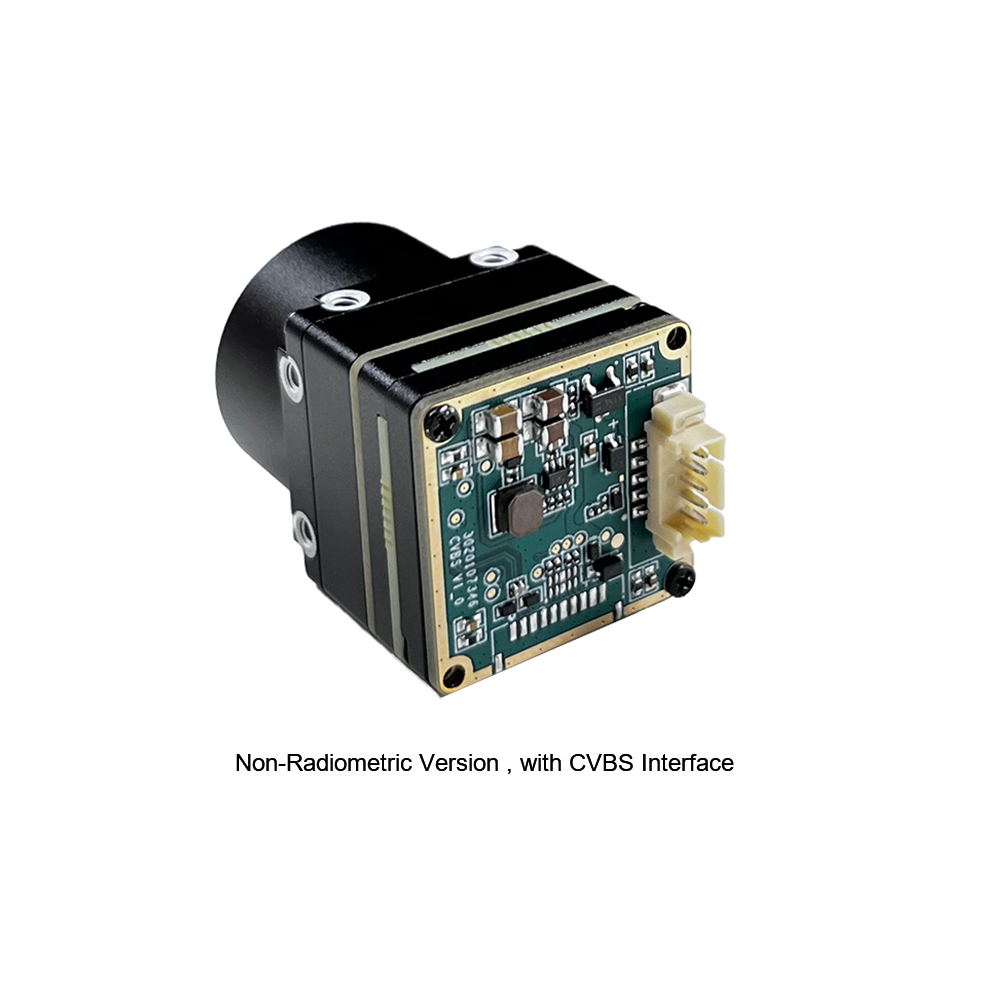
The MINI series infrared thermal imaging temperature measurement module is a high-precision, small-sized, and universal online temperature measurement infrared thermal imager. It uses high-quality detectors with high resolution, stable performance, and powerful functions. Equipped with multiple interfaces (USB, CVBS, MIPI), it is a preferred product across application fields such as machine vision, safety inspection, intelligent manufacturing, equipment maintenance, and robot/drone airborne payloads. Because we control the design from sensor to firmware, the frame format, register map, and Linux drivers are fully documented — making it the ideal choice for builders who refuse to waste months reverse-engineering anonymous boards.
Xpro Phone Thermal Camera — Temperature Measurement For Android

XPro Mini is a phone add-on thermal-imaging camera that can quickly turn your mobile phone into a thermal imager, letting you discover and measure temperature visually. It can see objects in the dark and easily detect the temperature of all objects around you. Connecting via USB Type-C, it requires no separate display or power supply — making it the perfect pocket tool for field temperature checks, home inspection, and rapid diagnostics. With on-screen radiometric readings, you get real numbers, not just pretty pictures.
Download full datasheets for both modules from our Download Center.
أسئلة متكررة
I want to build a DIY thermal scope or stream real-time high-res thermal video to a Raspberry Pi—which Chinese thermal camera module actually works?
Many Reddit users complain that modules like the Tiny1-C or RTR-225M lack Linux drivers and clear documentation. Do your modules support Linux and provide development resources?
I need a thermal module for accurate human body temperature checking—can your module measure temperature reliably and small enough to embed?
📚 المراجع والقراءات الإضافية
- المعيار الصناعي: Wikipedia — Microbolometer
- المعيار الصناعي: NVIDIA Jetson Embedded Computing
- Related Guide: برنامج تشغيل الكاميرا الحرارية RS300 لـ Raspberry Pi
- Resources: Download Center — Datasheets & SDKs
- Catalog: Browse All Thermal Camera Modules