Best Thermal Imaging Module for Drone Integration: Edge AI & LWIR Guide
2026年6月24日
High-Resolution Thermal Imaging Camera Module for Raspberry Pi: The Ultimate Edge AI Integration Guide
Look, edge computing has finally hit that critical crossroad where spatial and thermal awareness can't just live in separate, siloed sensor packages anymore. In the world of industrial automation, autonomous drone surveillance, and tight security networks, combining a high-performance thermal imaging camera module for raspberry pi with on-board artificial intelligence (Edge AI) is how you build a real-time system that actually works in the field. This integration lets you process complex spatial-thermal data right where it happens, completely bypassing the lag, bandwidth hogs, and security leaks that come with sending raw video streams up to a cloud server.
Here's the deal: far too many legacy setups are still trying to run modern computer vision on cheap, low-resolution hobbyist sensors. If you've ever tried that, you know those systems bottleneck immediately when you throw a real machine learning model at them. To get compile-and-forget operational efficiency, you have to transition to professional-grade, uncooled Long-Wave Infrared (LWIR) microbolometers. Connecting these high-performance physical arrays directly to a Raspberry Pi single-board computer (SBC) gives systems integrators, embedded hardware mechanics, and robotics developers the tools they need to run lightweight, lightning-fast computer vision models. Best of all, these systems function flawlessly in total darkness, heavy smoke, optical obscurants, and thermally erratic environments.
Table of Contents
- 👉 1. Thermal Physics on the Edge: High-Resolution LWIR vs. Low-Cost Arrays
- 👉 2. Physical & Communication Interfaces: USB/UVC vs. SPI/I2C Architecture
- 👉 3. Embedded Software Architecture: Building the Edge AI Thermal Pipeline
- 👉 4. Industrial LWIR Hardware Specifications & Integration Metrics
- 👉 5. SWaP Optimization for Robotics & UAV Deployments
- 👉 6. Deep-Dive Integration FAQ
1. Thermal Physics on the Edge: High-Resolution LWIR vs. Low-Cost Arrays
When you start designing a new thermal layout, it is incredibly tempting to grab a cheap thermopile array like the MLX90640 and call it a day. In the shop, we see this misstep all the time. While those lower-end arrays are fine for checking if a radiator pipe is warm or detecting if a human is standing directly in front of an entry door, they fall flat on their face the minute you task them with running edge classification algorithms. The basic hardware architecture tells you everything you need to know. A common thermopile sensor gives you a tiny 32x24 grid—exactly 768 pixels. A professional uncooled microbolometer module, on the other hand, drops thousands of pixels onto the target, turning unrecognizable color blobs into crisp thermal maps that neural networks can actually classify.
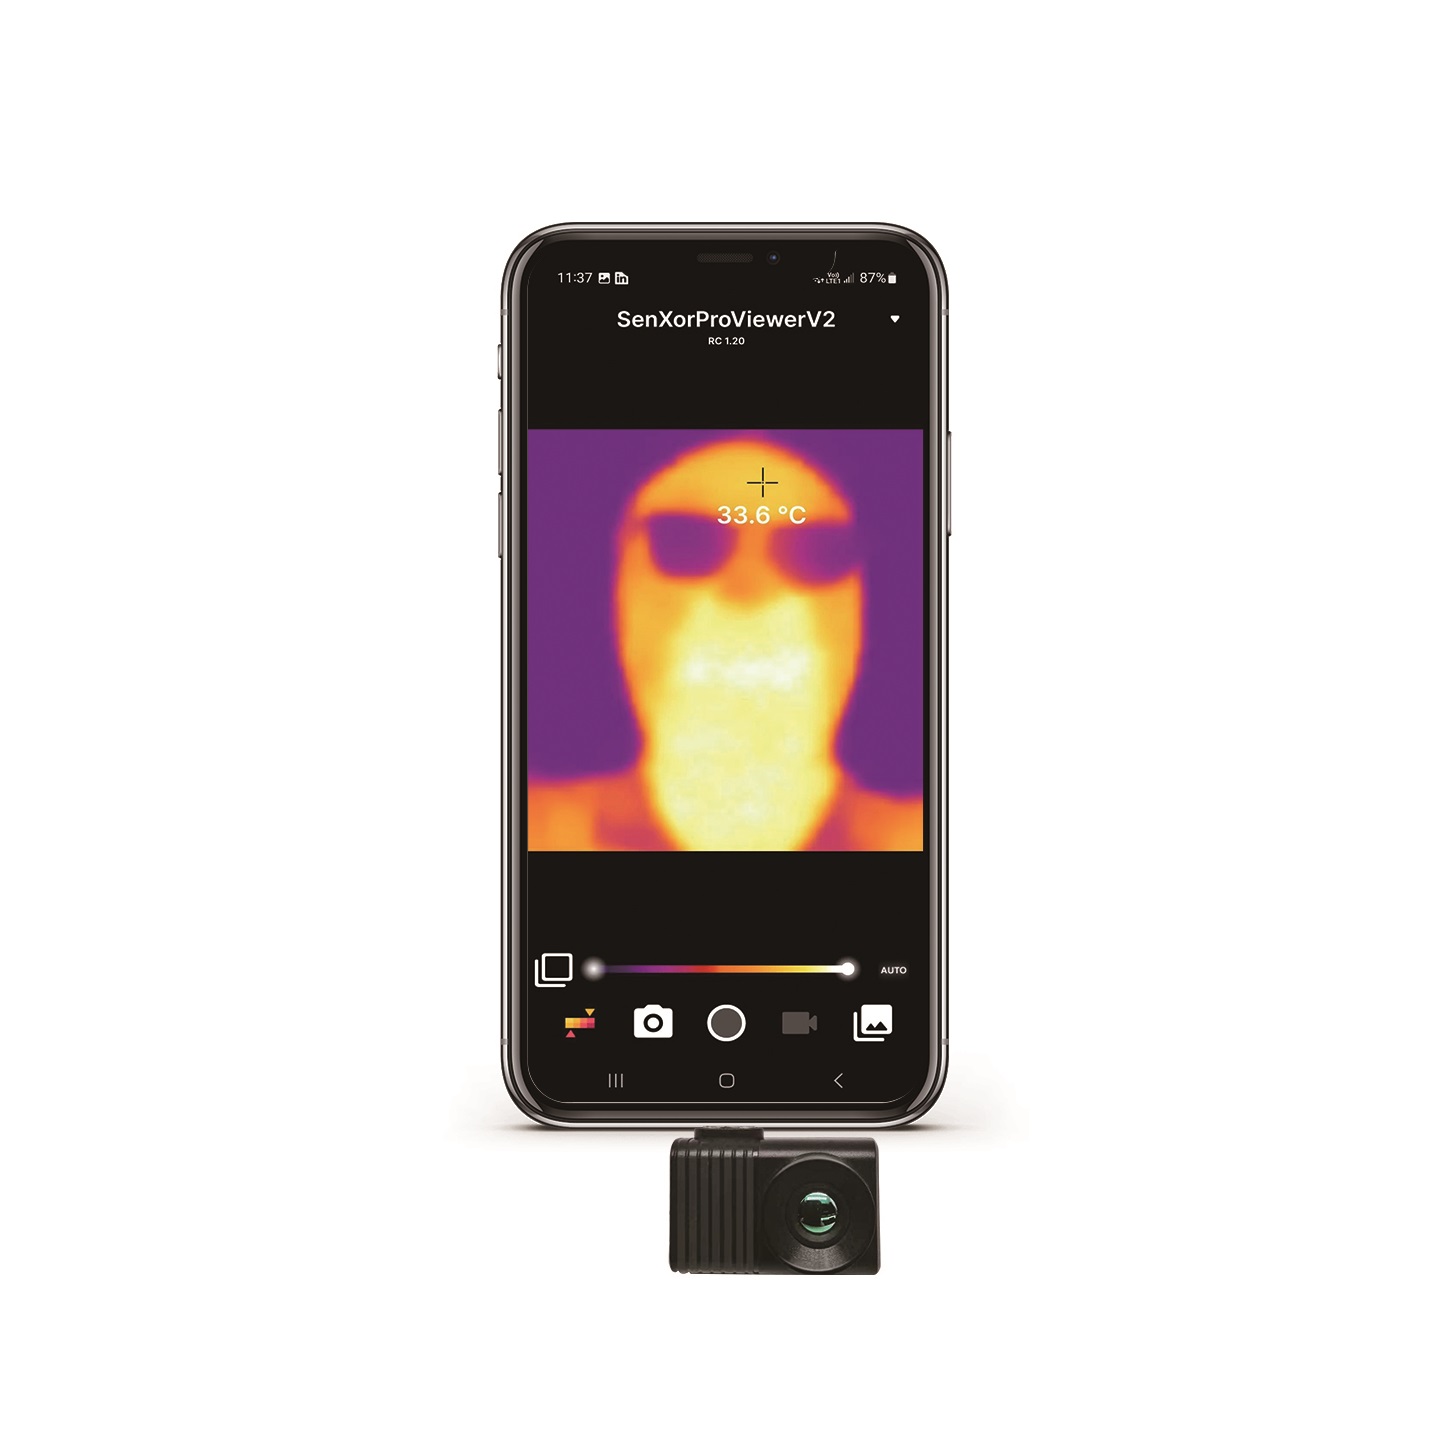
THERMAL IMAGING REAL-TIME VIDEO
The Microbolometer Advantage
At the center of a reliable, high-performance thermal imaging camera module for raspberry pi sits an uncooled vanadium oxide (VOx) or amorphous silicon (a-Si) microbolometer focal plane array (FPA). Thermopiles merely measure raw, average thermoelectric voltage differences across a limited grid. Microbolometers work on an entirely different physical level. They measure changes in electrical resistance across thousands of micro-machined, ultra-thin silicon bridges suspended over a reflective layer on a silicon readout substrate. When long-wave infrared radiation (spanning the 8µm to 14µm spectrum) strikes these suspended microbridges, the material heats up. The resulting change in electrical resistance is read out by an integrated circuit (ROIC) and translated directly into a highly detailed digital thermal map.
This physical mechanism dictates how your system's spatial and thermal resolution behave in real-world scenarios:
- ⚙️ Spatial Resolution: That 32x24 thermopile array is limited to 768 data points. When you upgrade to a professional 256x192 module, you instantly get 49,152 active pixels. Bump that up to an industry-standard 640x512 uncooled LWIR core, and you are dealing with 327,680 high-fidelity pixels. This high pixel density is what allows modern convolutional neural networks, such as YOLO or MobileNet, to isolate clear shape profiles and edge gradients, enabling precise target classification rather than generic blob tracking.
- ⚙️ Thermal Sensitivity (NETD): Noise Equivalent Temperature Difference (NETD) defines the lowest thermal contrast your sensor can resolve before drowning in its own internal noise floor. Cheap sensors typically suffer from poor NETD values in the 100mK to 250mK range, rendering images grainy and useless in low-contrast environments. Professional uncooled LWIR cores deliver an NETD of ≤ 50mK, with top-tier configurations hitting ≤ 40mK or better. This allows the system to clearly distinguish thermal differences down to 0.04°C, which is crucial when trying to identify human silhouettes or active engines against a cluttered background.
- ⚙️ Optics and Optical Materials: Resolving clean LWIR detail requires highly specialized materials. Standard optical glass blocks infrared light entirely, and cheap moldable plastic lenses suffer from horrific photon losses. Industrial-grade uncooled cores use precision-engineered Germanium (Ge) optics. Germanium displays exceptional transmission rates in the 8–14µm band, focusing maximum thermal energy directly onto the microbolometer FPA and giving you manual or athermalized focus capabilities over extended target distances.
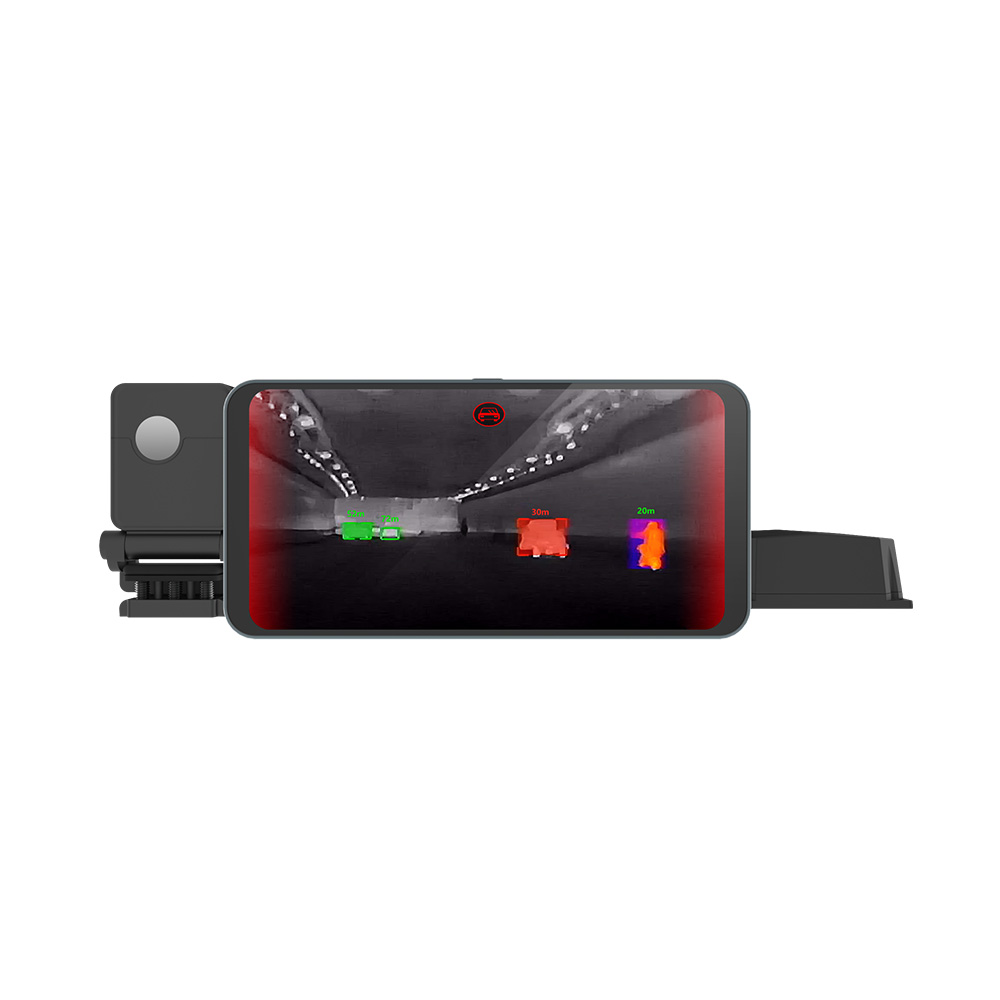
To see how this level of high-resolution thermal imaging behaves when deployed on the physical edge—specifically in vehicle safety systems—take a look at our engineering analysis on thermal imaging in automotive driving safety.
2. Physical & Communication Interfaces: USB/UVC vs. SPI/I2C Architecture
If you're connecting an LWIR thermal camera core to an SBC like the Raspberry Pi, your choice of physical communication protocol is going to determine whether your pipeline runs smoothly or chokes instantly. Selecting between simple serial buses (SPI/I2C) and high-level standard protocols (USB/UVC) dictates your frame delivery speed, overall CPU load, and software integration overhead.
The I2C and SPI Bottleneck
Low-end sensor boards often rely on the Inter-Integrated Circuit (I2C) bus for settings registers, paired with the Serial Peripheral Interface (SPI) bus to pull raw pixel arrays. While this setup works fine for basic microcontrollers running bare-metal loops, it introduces severe bottlenecks when paired with a full Linux-based SBC. At higher pixel counts and frame rates, these serial interfaces burn valuable CPU cycles handling countless interrupts and polling routines just to assemble a single image frame in memory.
Let's look at the numbers for a 256x192 resolution video stream running at 25 frames per second (FPS), using a raw 14-bit digital (Y14) output format:
Calculated Throughput = 256 × 192 pixels × 14 bits/pixel × 25 FPS = 17,203,200 bits/second ≈ 17.2 Mbps
To handle a raw stream of that speed over an SPI bus, the Raspberry Pi's hardware SPI clock needs to be driven at 20–25 MHz to comfortably handle packet framing headers, inter-frame gaps, and bus handshakes. In practice, running high-frequency SPI lines through typical jumper wires results in clock skew, line noise, and corrupted frames. More than that, the host CPU must manage every byte transfer context switch. This means your SBC ends up using a huge chunk of its processing power just to catch incoming pixels, leaving little room for Edge AI inference.
The USB Video Class (UVC) and V4L2 Solution
To get around the physical constraints of serial buses, advanced uncooled thermal cores use integrated USB bridge chips conforming directly to the standard USB Video Class (UVC) protocol. When you hook them up, the operating system treats them like standard webcams, allowing you to interface directly with the kernel's native drivers.
In our experience, using a USB 2.0 or USB 3.0 interface yields massive integration advantages:
- ✅ Zero-Copy Direct Memory Access (DMA): The Raspberry Pi’s hardware USB controller processes incoming pixel payloads via DMA. This writes active image frames directly to system RAM without needing overhead from CPU interrupts, preventing core bottlenecking even during high-throughput sessions.
- ✅ Out-Of-The-Box Linux Support: Since these boards run as standard UVC endpoints, they register with the native Video4Linux2 (V4L2) kernel stack. You don't have to fiddle with custom, closed-source kernel modules or build complex drivers from scratch.
- ✅ Reliable High Frame-Rate Operation: USB 2.0 handles up to 480 Mbps. That gives you plenty of headroom to stream uncompressed, full-depth 16-bit radiometric 640x512 matrix streams at 25Hz or 30Hz without dropping packets, losing frames, or running into bus instability.
- ✅ Clean, Unified Control APIs: Adjusting system variables—such as pseudo-color palettes, custom scale overrides, ROI targeting, and Manual/Automatic Shutter Non-Uniformity Correction (NUC)—is handled through standard V4L2 device controls. This keeps your software stack clean and highly portable.
3. Embedded Software Architecture: Building the Edge AI Thermal Pipeline
Getting a high-resolution thermal stream into a neural network on the Raspberry Pi requires an efficient, multi-threaded pipeline. You cannot run ingestion and heavy inference on the same thread without running into terrible system lag. The code below shows how to build a clean multi-threaded frame grabber and scaling engine using Python, OpenCV, and V4L2 controls.
The Radiometric Data Parser Pipeline
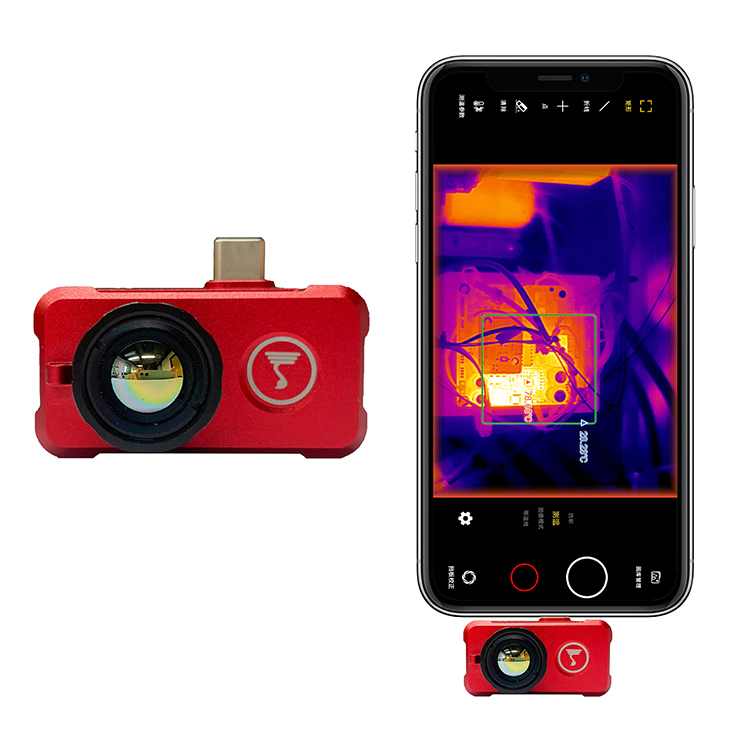
Industrial thermal modules typically output data in one of two modes: parsed 8-bit Y8/Pseudo-Color (which is pre-colored for visual displays) and raw 16-bit Y16/Radiometric RAW14 payload structures. If you're building intelligent alerts or analyzing exact thermographic trends, you want the raw 16-bit radiometric stream, where the value of each pixel corresponds directly to actual calculated target temperatures.
The Python pipeline below demonstrates how to grab a raw feed, extract temperature points via vectorized mathematical arrays, and safely buffer frames for downstream model execution without choking your development platform.
import cv2
import numpy as np
import time
import threading

class RaspberryPiThermalPipeline:
    def __init__(self, device_index=0, width=640, height=512):
        self.device_index = device_index
        self.width = width
        self.height = height
        self.cap = cv2.VideoCapture(self.device_index, cv2.CAP_V4L2)

        # Configure the V4L2 stream for raw Y16 / radiometric capture
        self.cap.set(cv2.CAP_PROP_FRAME_WIDTH, self.width)
        self.cap.set(cv2.CAP_PROP_FRAME_HEIGHT, self.height)
        # Select Y16 raw fourcc format if natively exposed
        self.cap.set(cv2.CAP_PROP_FOURCC, cv2.VideoWriter_fourcc(*'Y16 '))

        self.running = False
        self.raw_frame = None
        self.lock = threading.Lock()

    def start(self):
        self.running = True
        self.thread = threading.Thread(target=self._capture_loop, daemon=True)
        self.thread.start()
        print("[INFO] Thermal ingestion thread started.")

    def _capture_loop(self):
        while self.running:
            ret, frame = self.cap.read()
            if not ret:
                time.sleep(0.001)
                continue

            with self.lock:
                # Capture raw 16-bit buffer directly
                self.raw_frame = frame

    def get_latest_temperature_map(self):
        with self.lock:
            if self.raw_frame is None:
                return None
            frame_copy = self.raw_frame.copy()

        # Standard uncooled LWIR cores output raw digital number (DN) arrays
        # Conversion to temperature uses a linear calibration offset
        raw_16bit = frame_copy.view(dtype=np.uint16)

        # Resizing and protecting frame boundaries based on target resolution
        raw_scaled = raw_16bit.reshape((self.height, self.width))

        # Dynamic conversion: Target-dependent linear scaling
        # Assuming scale coefficient of 0.1K per LSB and 273.15 Kelvin offset
        celsius_map = (raw_scaled * 0.1) - 273.15
        return celsius_map

    def stop(self):
        self.running = False
        self.thread.join()
        self.cap.release()
        print("[INFO] Thermal thread closed cleanly.")

# Example loop running Edge AI preprocessing
if __name__ == "__main__":
    # Initialize pipeline with Mini 640 uncooled core parameters
    pipeline = RaspberryPiThermalPipeline(device_index=0, width=640, height=512)
    pipeline.start()

    try:
        prev_time = time.time()
        while True:
            temp_map = pipeline.get_latest_temperature_map()
            if temp_map is None:
                time.sleep(0.01)
                continue

            # Perform Image Normalization for target identification (Edge AI Pre-processing)
            # Standardizing thermal gradient into a normalized 8-bit model frame
            min_val = np.min(temp_map)
            max_val = np.max(temp_map)

            # Avoid divide-by-zero on highly uniform surfaces
            range_val = (max_val - min_val) if (max_val - min_val) > 0.01 else 1.0
            normalized_8bit = (((temp_map - min_val) / range_val) * 255).astype(np.uint8)

            # Match 3-channel input expectations of common CNNs (YOLOv8-style)
            input_tensor = cv2.merge([normalized_8bit, normalized_8bit, normalized_8bit])

            fps = 1.0 / (time.time() - prev_time)
            prev_time = time.time()

            # Render pseudo-color preview for local debugging and diagnostics
            color_mapped = cv2.applyColorMap(normalized_8bit, cv2.COLORMAP_JET)
            cv2.putText(color_mapped, f"FPS: {fps:.1f}", (10, 30),
                        cv2.FONT_HERSHEY_SIMPLEX, 0.8, (255, 255, 255), 2)
            cv2.putText(color_mapped, f"Max Temp: {max_val:.1f}C", (10, 60),
                        cv2.FONT_HERSHEY_SIMPLEX, 0.8, (0, 0, 255), 2)

            cv2.imshow("Raspberry Pi Thermal Edge Pipeline", color_mapped)
            if cv2.waitKey(1) & 0xFF == ord('q'):
                break

    finally:
        pipeline.stop()
        cv2.destroyAllWindows()
4. Industrial LWIR Hardware Specifications & Integration Metrics
Designing hardware systems for field deployment means paying close attention to physical, electrical, and optics specs. To ensure smooth system behavior and clean signals, make sure your layout provides proper electrical separation, physical vibration dampening, and matching focal depth parameters.
To keep your setup aligned with standard compliance procedures, take a moment to review our Terms of Use.
Let's walk through two production-grade thermal camera cores that interface directly with the Raspberry Pi. These uncooled modules replace basic thermopiles with high-performance VOx microbolometers, delivering the structural reliability and sensitivity required for complex robotics, drone payloads, and long-range imaging platforms.
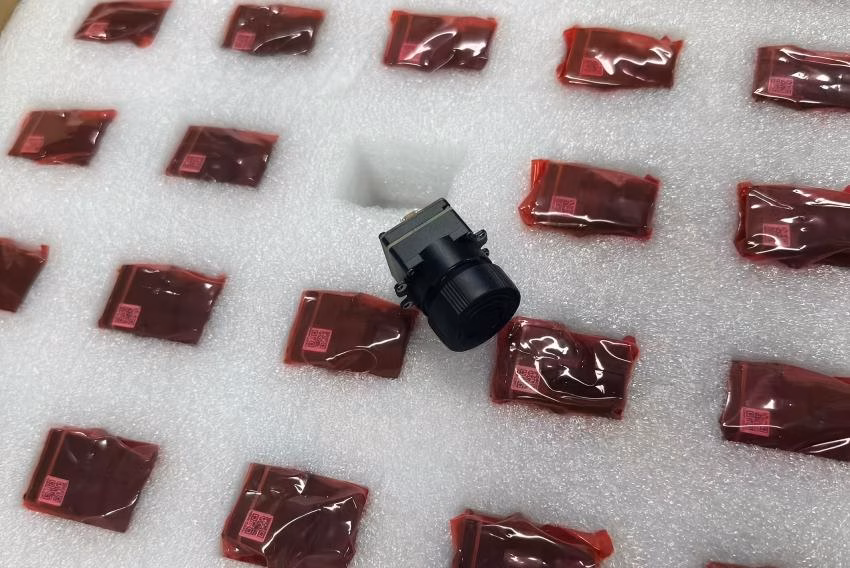
Product Showcase 1: Uncooled LWIR Mini 256*192 Thermal Imaging Camera Module Similar To DJI For Detecting Mines
The Mini 256 Uncooled LWIR Thermal Camera Module uses high-grade infrared detectors to deliver sharp thermal images and consistent temperature readouts. It senses incoming infrared radiation and converts it into a uniform thermal image with on-board radiometric support, giving you actionable spatial data in challenging, low-signature environments. Specialized internal calibration profiles make this unit highly effective for precision setups like drone-based mine detection and target tracking.
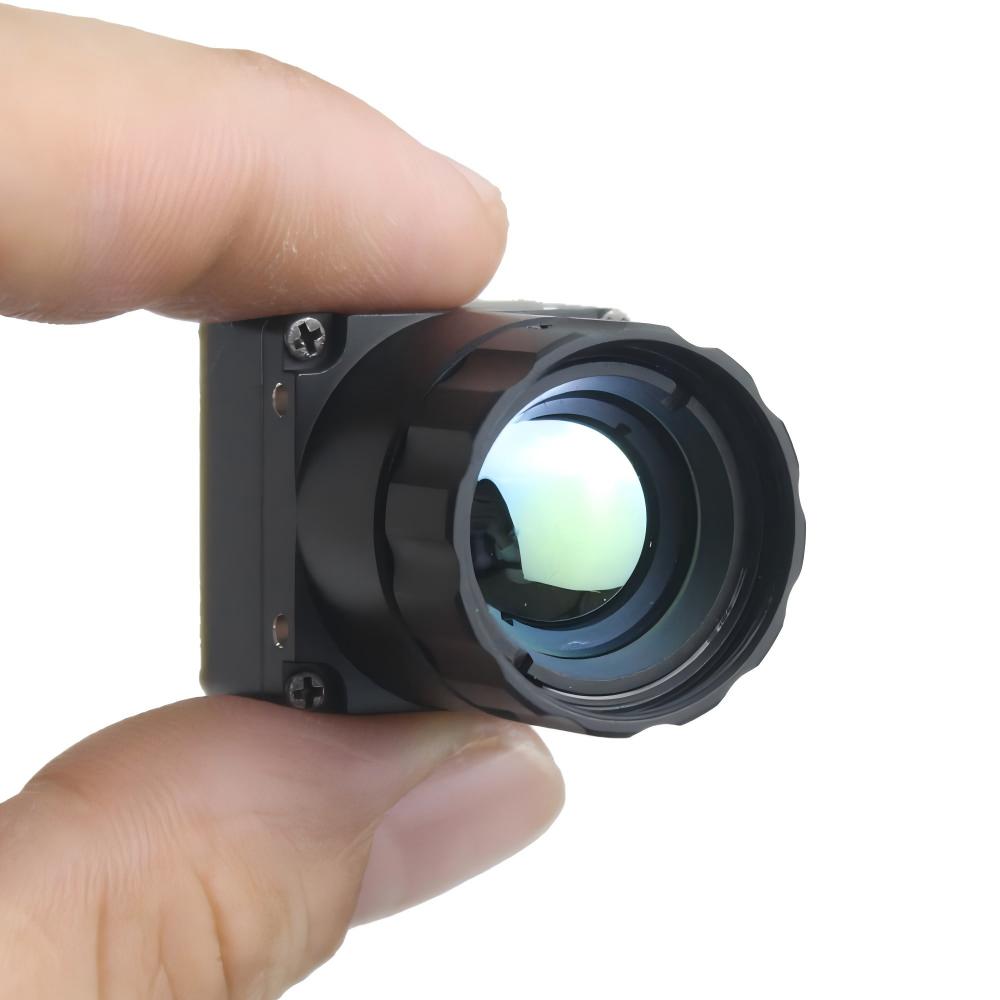
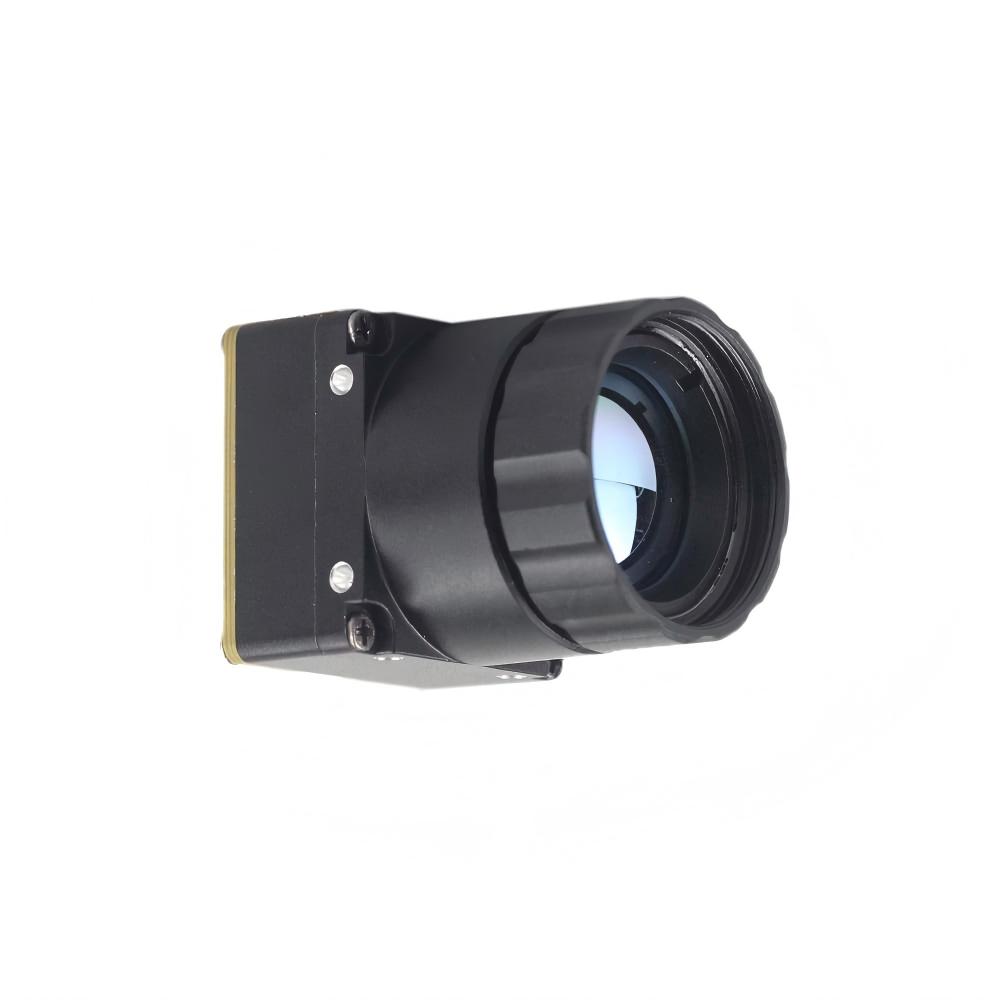
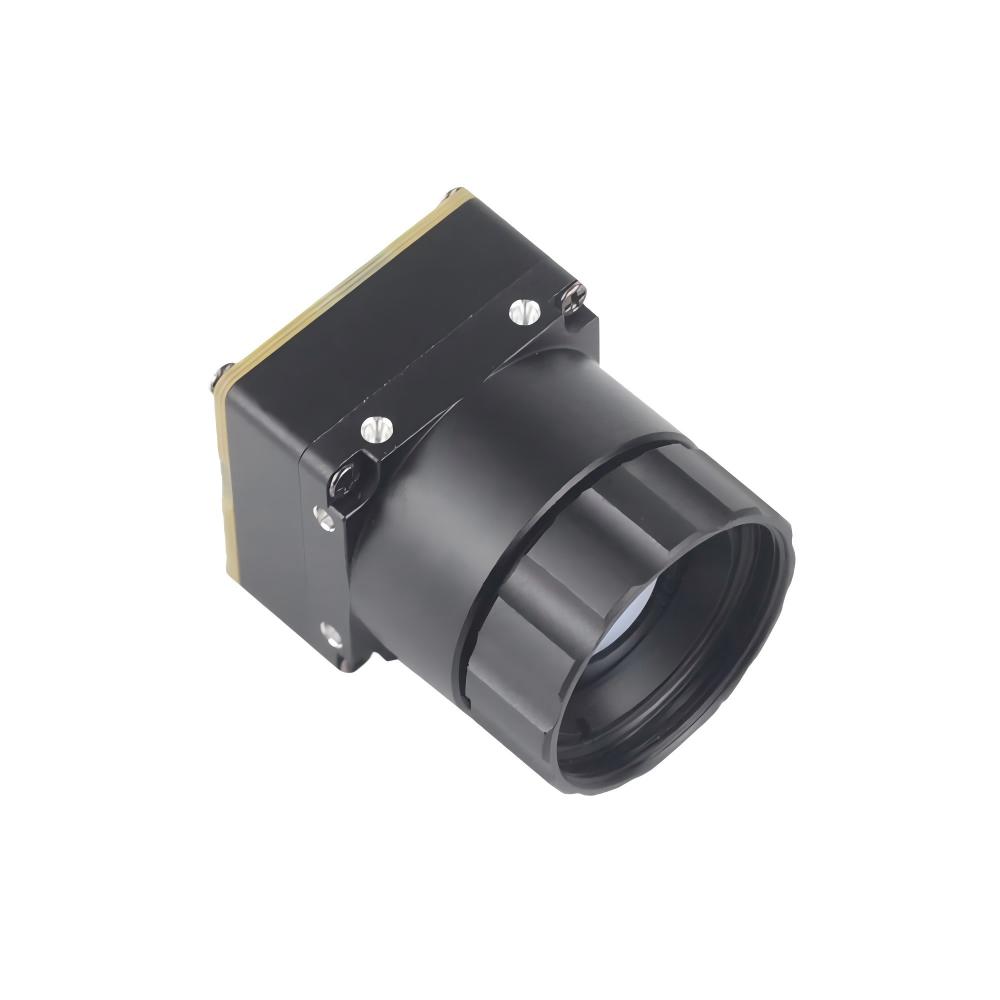
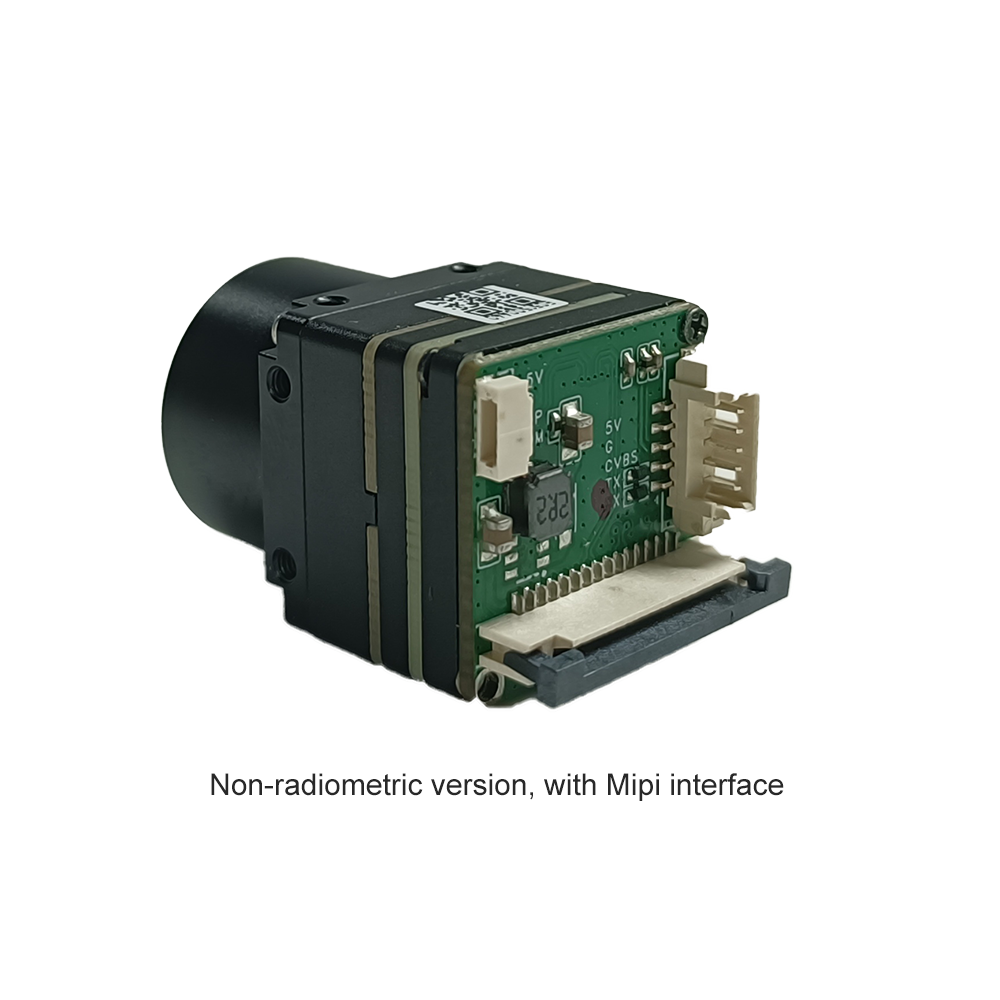
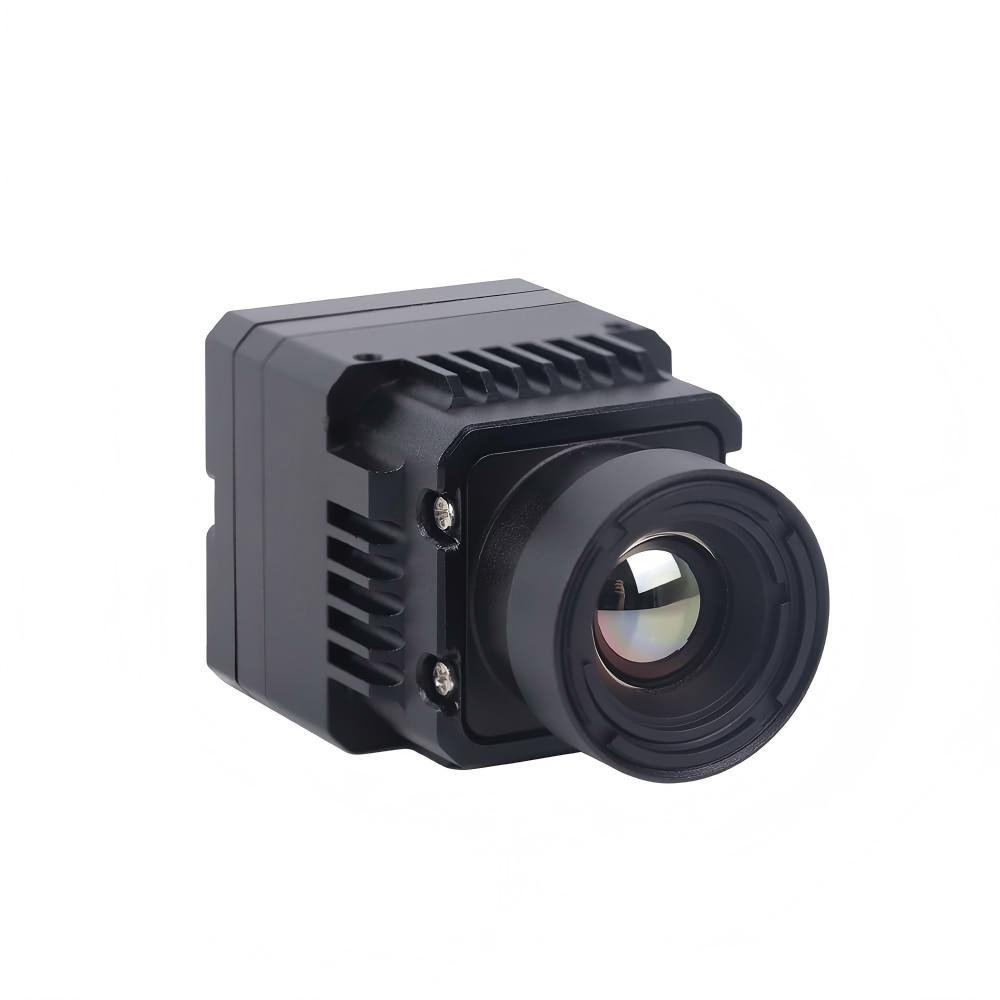
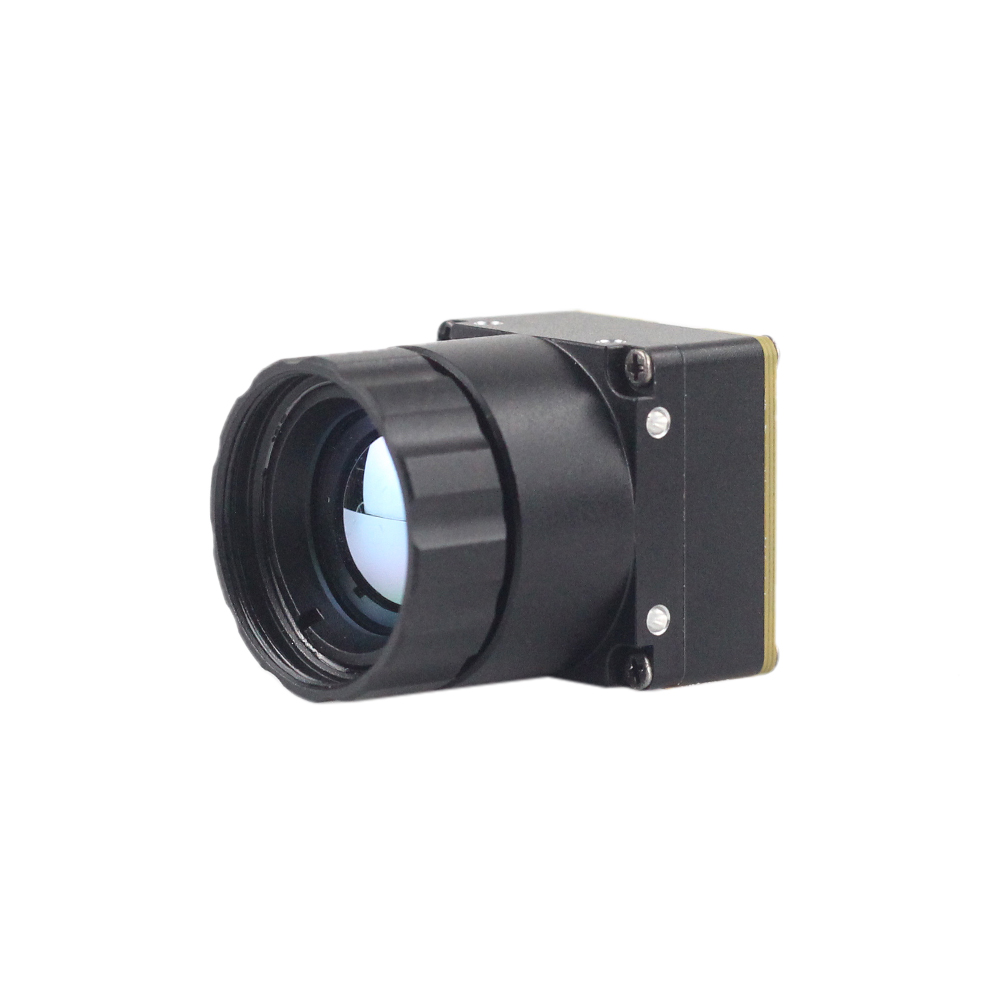
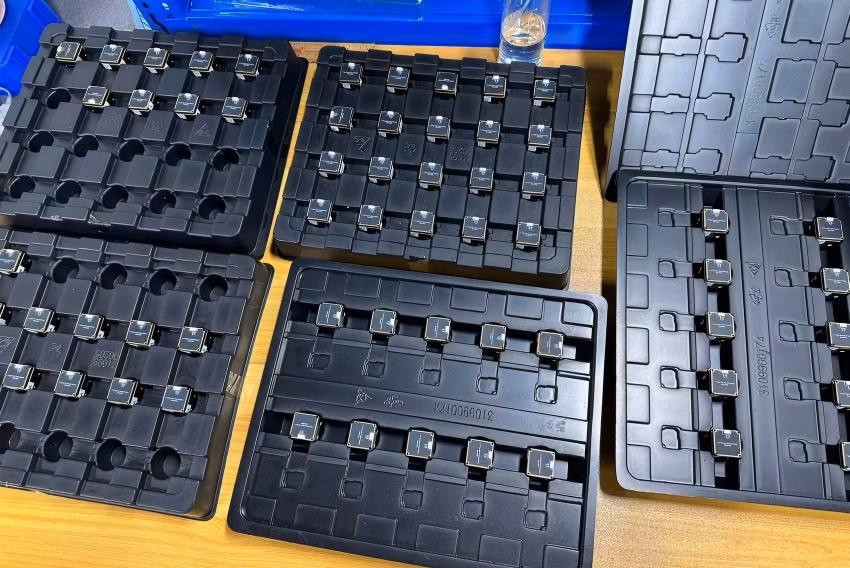
Product Showcase 2: Uncooled LWIR USB Mini 640*512 Thermal Imaging Camera Core Module For Drones Similar To DJI

This micro uncooled infrared thermal imaging module combines clear image output, a highly compact layout, and an incredibly cost-effective integration footprint. Built specifically for high-mobility drone payloads and robotic platforms, the Mini 640 core features a tiny 21mm × 21mm cross-section, optional 640*480 arrays, robust physical construction, and excellent adaptability in erratic climates.
We supply a wide range of optical configurations for this core: 5mm, 9mm, 13mm, 18mm, 35mm, 50mm, 75mm, 100mm, and 150mm lenses. This selection lets you match your exact target distance and field-of-view (FOV) requirements without changing the mounting setup of your basic camera bay.
The comparative matrix below outlines the key technical metrics of these professional-grade LWIR cores, giving you the specific mechanical, electrical, and optical data points needed to map out your physical layout.
| Integration Metric | Uncooled LWIR Mini 256*192 Module | Uncooled LWIR USB Mini 640*512 Core Module |
|---|---|---|
| FPA Resolution | 256 × 192 Pixels (Uncooled VOx detector) | 640 × 512 Pixels (640 × 480 configuration optional) |
| Pixel Pitch | 12µm | 12µm |
| Spectral Band | 8µm to 14µm (LWIR) | 8µm to 14µm (LWIR) |
| Thermal Sensitivity (NETD) | ≤ 50mK (@25°C, F#1.0) | ≤ 40mK (Standard version options range to ≤ 50mK) |
| Lens Options (Focal Length) | Athermalized fixed-focus configurations optimized for mine finding/security | 5mm, 9mm, 13mm, 18mm, 35mm, 50mm, 75mm, 100mm, 150mm configurations available |
| Electrical Interface | USB (UVC-compliant), UART control, custom dynamic IO pins | USB UVC Interface, standard UART communication interfaces |
| Physical Dimensions | Ultra-miniature payload envelope, comparable to mini-UAV cameras | 21mm × 21mm (microweight integration envelope) |
| Primary Target Applications | Mine detection, lightweight search patterns, smart security nodes | UAV multi-spectral imaging payloads, autonomous search & rescue, crop telemetry |
5. SWaP Optimization for Robotics & UAV Deployments
When you need to get advanced sensors running on mobile, battery-driven hardware—like multirotor UAVs or compact mapping vehicles—SWaP (Size, Weight, and Power) becomes everything. Every single milliwatt of power draw and every extra gram of deadweight eats directly into your operating window and battery performance cycles.
Size and Form Factor Adaptability
Measuring in at an incredibly compact 21mm × 21mm, these thermal sensor packages match the exact form factor of standard digital visible-light FPV units. This compact engineering profile means you can drop them into standard 2-axis or 3-axis stabilized brushless gimbals without overloading the gimbal motors. Standard M2 screw attachment patterns are machined directly onto all four sides of the aluminum chassis. This makes it simple to mount the camera core inside weather-tight shells or custom multi-spectral payload bays, ensuring the module stays anchored without requiring custom-molded mounting plates.
Weight Budget Optimization
In aerial and remote robotics applications, every gram matters. Heavy payloads translate directly to shorter operation times. By relying on a lightweight, uncooled microbolometer sensor, you keep payload stress to an absolute minimum compared to bulky consumer cameras or thermoelectric cooled arrays. This allows you to deploy dual-sensor payloads—like pairing a visible-light navigation camera with a high-resolution thermal imaging module—even on sub-250g aerial drones, maximizing your targeting capabilities without draining the onboard battery.
Power Infrastructure and Thermal Runaway Safety
One major trap when powering high-performance SBCs like the Raspberry Pi 4 or 5 alongside high-res sensors on small mobile frames is fluctuating current draw. Heavy motor acceleration can drop line voltages, triggering immediate USB connection drops or core logic resets.
To avoid this issue on battery-powered robots, never tap raw power for both the single-board computer and your camera core from the same unfiltered ESC regulator lines. Instead, use an isolated DC-DC buck converter to supply a clean, filtered 5.0V supply straight to the Raspberry Pi. This ensures the USB-connected thermal core receives highly stable voltage. Passive thermal control is just as important. Always locate your thermal core away from the Raspberry Pi's processor cooling fans or heatsinks; parasitic heat conduction can throw off the sensor's FPA temperature bias, degrading your temperature calibration readings over time.

6. Deep-Dive Integration FAQ
Why should I upgrade from low-cost sensors like the MLX90640 to a professional LWIR module for my Raspberry Pi project?
Hobbyist-grade arrays like the MLX90640 are designed for basic spot-temperature checks and simple zone detection. They are fundamentally limited when tasked with real-time target tracking, robotic navigation, or actual Edge AI classification. First, look at spatial pixel density: the MLX90640 offers a native array size of just 32x24 pixels (768 total points of data). Any edge detection, thermal segmentation, or shape-based classification model will fail because targets are reduced to small, indistinct pixel blobs.
Our Mini 256x192 module yields 49,152 measurement points, while the Mini 640x512 delivers 327,680 pixels. This higher density resolves narrow target features, heat signatures at long range, and clear physical outlines. Furthermore, thermal sensitivity (NETD) and refresh rates are critical. Low-cost arrays struggle with high noise floors, often exhibiting an NETD of 100mK to 250mK. In low-contrast scenes (such as cold soil profiles or indoor structures with uniform temperature distributions), this noise floods the image, generating spurious features that can lead to false positive AI detections.
Conversely, professional VOx cores keep NETD below 50mK (down to ≤ 40mK), providing high-contrast, clean images. This low noise floor ensures that target boundaries remain sharp and recognizable even under challenging conditions. On the software side, the slow dynamic refresh speeds of low-end thermopiles generate severe motion blur and trailing artifacts on moving targets. A professional uncooled LWIR module provides frame rates of 25Hz to 30Hz, enabling smooth tracking for real-time edge operations.
What is the easiest way to stream high-resolution, real-time thermal video to a Raspberry Pi without frame lag?
To achieve real-time, low-latency streaming of high-resolution uncooled thermal data, you must bypass low-frequency serial interfaces. Attempting to stream 256x192 or 640x512 radiometric resolution over SPI or I2C causes severe communication bottlenecks on Linux-based SBC platforms. This forces the CPU to spend valuable processing cycles managing serial interrupts, which often results in dropped frames and high pipeline latency.
The optimal approach is to integrate via a USB Video Class (UVC) interface loop. Operating as a standard UVC-compliant USB device allows the camera to register natively with the Linux kernel's high-speed stream driver. System frames are pushed directly into system memory using zero-copy DMA buffers managed by V4L2.
By utilizing Python libraries like OpenCV with a built-in V4L2 capture backend, you can directly ingest raw frames into formatted NumPy arrays. Processing remains fully synchronized with the host computer's system clock, keeping capture frame lag to sub-millisecond levels. This approach leaves the Raspberry Pi’s multi-core ARM CPU free to focus on executing deep-learning inferences and control loops rather than parsing raw serial bus buffers.
Are these mini thermal camera modules suitable for lightweight UAVs and robotics controlled by Raspberry Pi?
Yes. Our uncooled LWIR camera cores are designed specifically with strict SWaP (Size, Weight, and Power) constraints in mind, making them ideal for lightweight UAVs, multirotor platforms, and mobile search-and-rescue robotics.
With a miniature structural cross-section of only 21mm × 21mm, these modules can be integrated directly into compact spaces where traditional industrial thermal cameras would not fit. The extremely light weight of these camera cores ensures that there is virtually no impact on flight dynamics or battery drain. Additionally, their minimal weight simplifies mounting on micro-servo or compact brushless gimbals without risking motor overheating.
From an electrical perspective, these modules consume less than 1.2 Watts during continuous radiometric capture. They can run directly off the Raspberry Pi's standard 5.0V USB bus power, simplifying the power delivery architecture by eliminating the need for bulky external battery packs, cooling fans, or specialized step-down transformers.
Whether your goal is locating thermal anomalies in crop fields, navigating dark autonomous flight paths, or performing mining anomaly audits under active operational conditions, our uncooled LWIR cores deliver high-resolution thermal data without compromising weight budgets or system flight times.
📚 References & Further Reading
- Industry Standard: Wikipedia Thermography
- Physics Reference: Wikipedia Microbolometer
- Related Guide: Thermal Imaging in Automotive Driving Safety
- Official Source: Thermal-Image.com Core Portal