High-Resolution USB Thermal Camera Module: Custom OEM Cores for PCBA & Drone Integration
2026年6月12日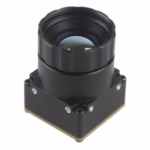
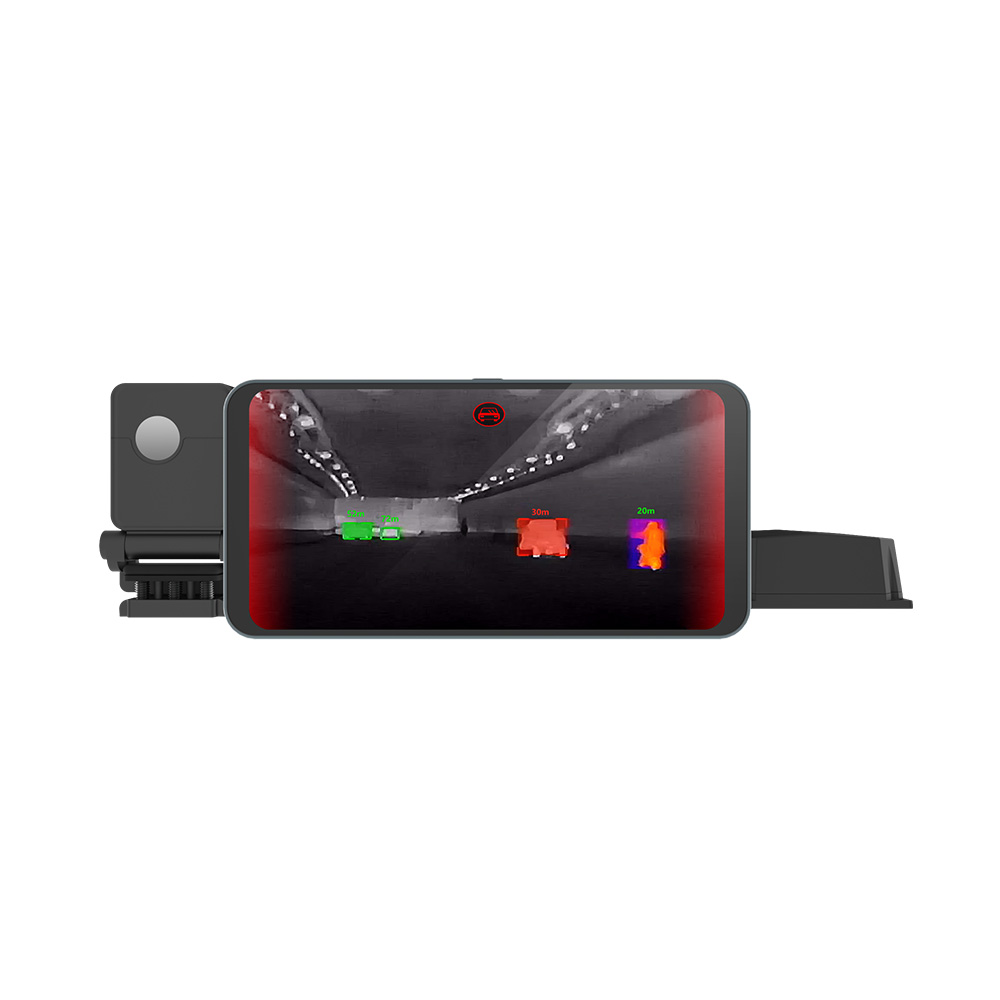
Top Thermal Camera Module for Drone: AI-Powered Imaging for UAV Integration
2026年6月16日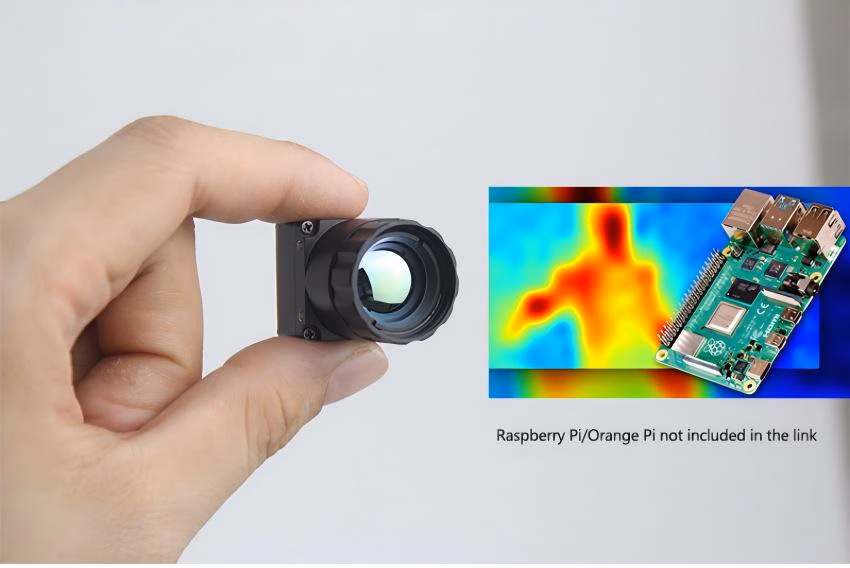
Industrial Guide: High-Performance Thermal Camera Module for Raspberry Pi
For any engineer or system integrator who's spent time in the trenches, the primary hurdle in Raspberry Pi thermal imaging has always been that annoying trade-off between resolution and data throughput. Let’s be real: hobbyist-grade I2C sensors are fine if you just want to see if a coffee mug is hot, but they fall apart in industrial-grade applications. If you're building autonomous drone inspection rigs or real-time AI perimeter security, you need serious LWIR (Long-Wave Infrared) capabilities. Moving from those grainy 32x32 pixel maps to professional 640x512 uncooled microbolometer cores changes the game. It’s what lets you extract surgical-grade radiometric data so your edge AI can actually classify objects instead of just guessing at heat blobs.
This guide is meant to be the definitive technical resource for anyone deploying premium thermal camera module for raspberry pi setups. We’re going to look at why we're seeing an architectural shift from simple sensors to high-performance MIPI and USB modules. The goal here is simple: maintain high frame rates while keeping the Pi’s CPU from redlining. By breaking down the synergy between uncooled LWIR tech and the Pi’s GPIO, CSI-2, and USB interfaces, this blueprint helps you pick hardware that actually scales from a desk prototype to a rugged industrial deployment.
Look, the days of settling for "good enough" resolution are over. When you're trying to spot a hairline fracture in a high-voltage line from a drone fifty feet up, every pixel counts. In this guide, I'm going to walk you through the hardware choices that separate the toys from the tools used in the field. We’ll talk about avoiding the bottlenecks that kill frame rates and how to feed clean data into your AI models so they actually work when it matters most.
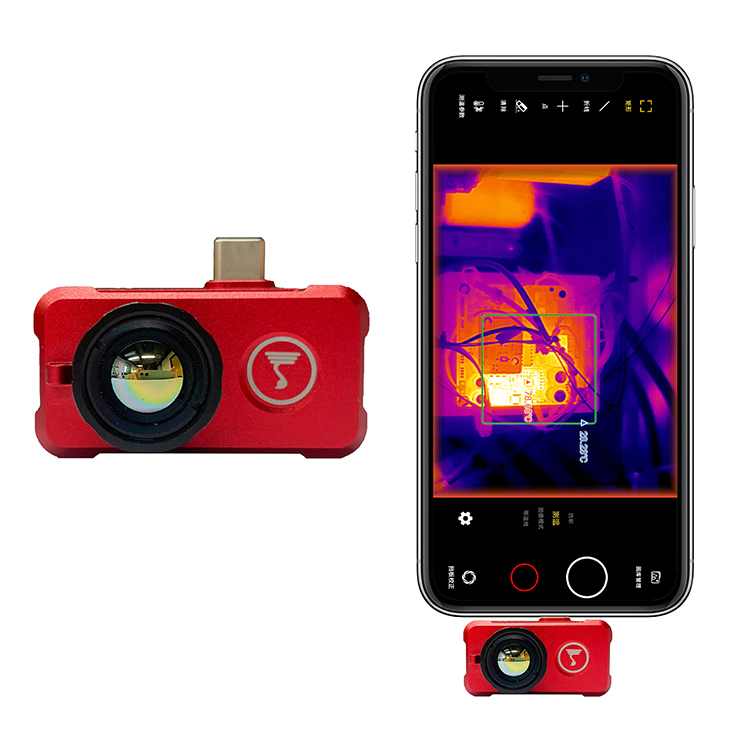
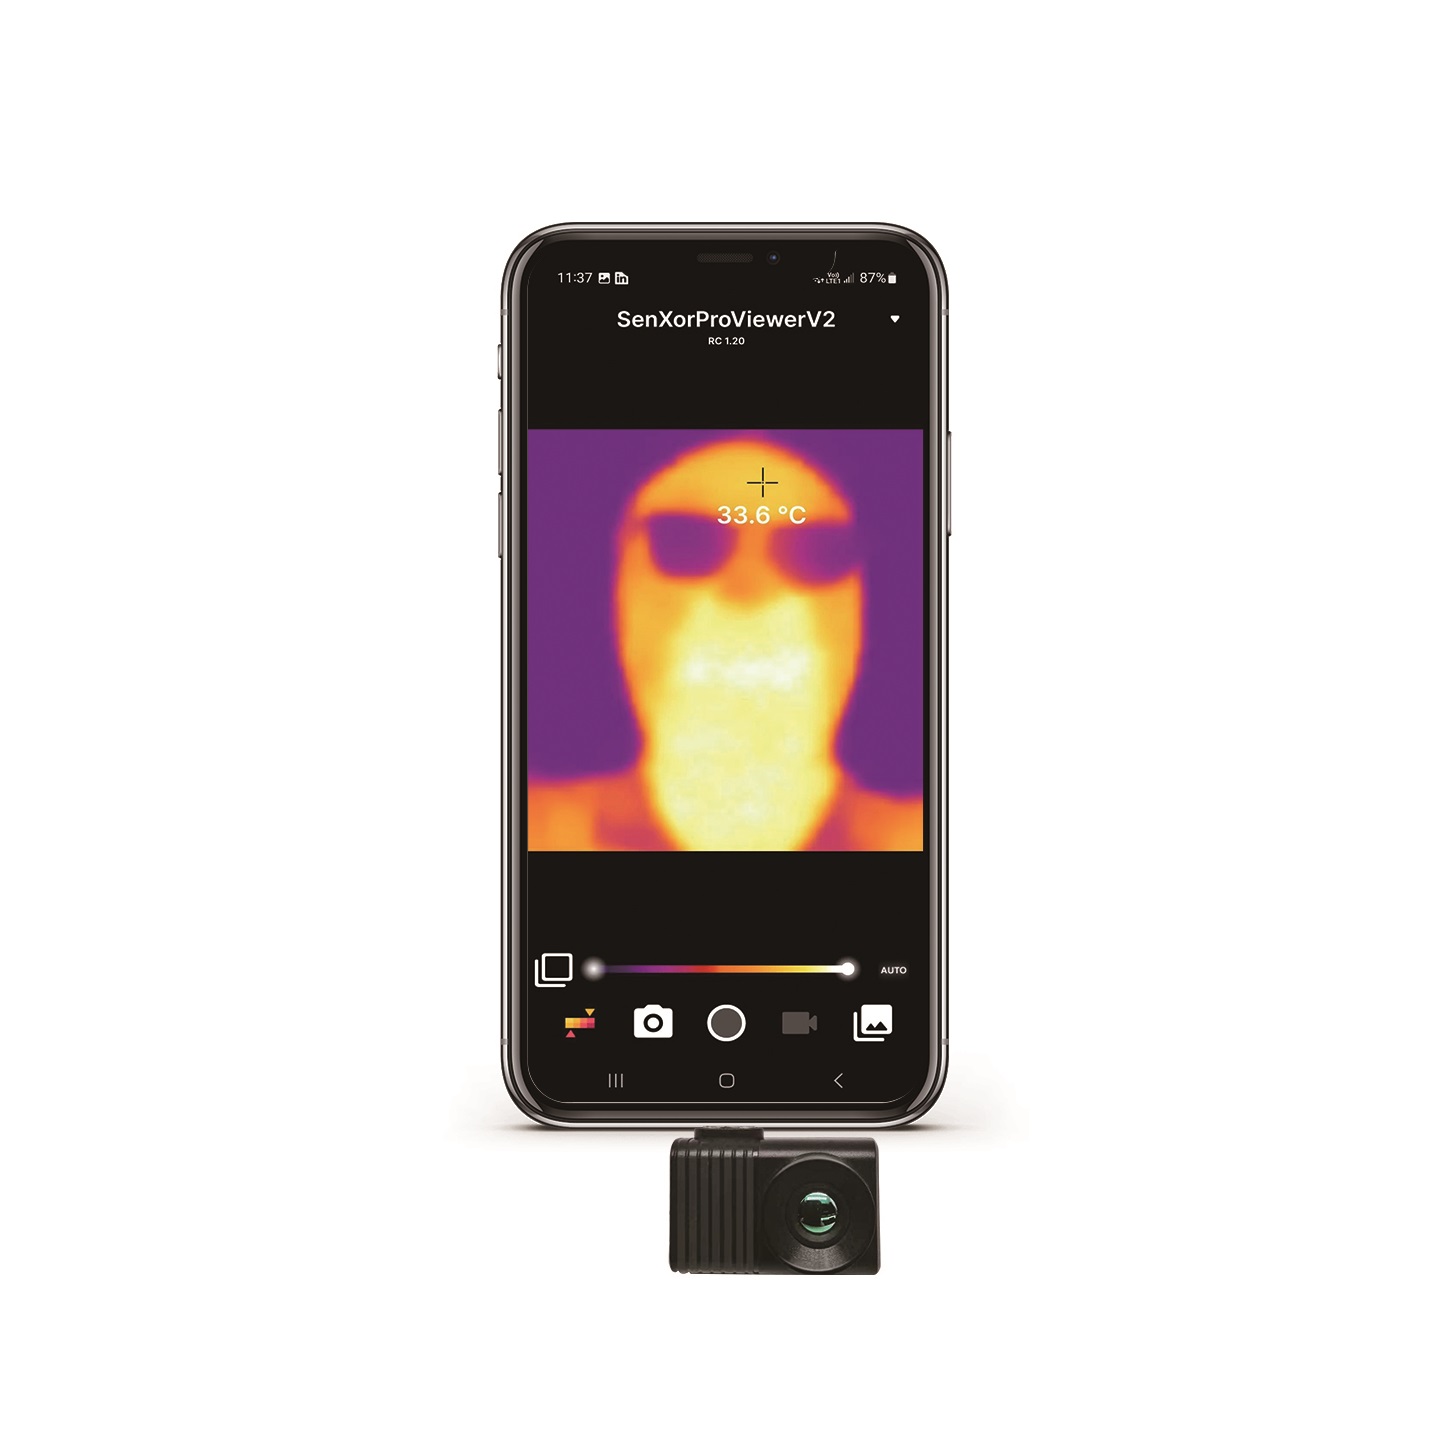
THERMAL IMAGING REAL-TIME VIDEO
Table of Contents
The Evolution from Sensors to Industrial LWIR Modules
The industrial landscape for Long-Wave Infrared (LWIR) sensing is shifting faster than most people realize. In the shop, we used to struggle with integrating a thermal camera module with a Raspberry Pi because we were stuck with low-res arrays that barely did more than presence detection. But things have changed. The arrival of uncooled microbolometer cores—specifically those hitting the 640x512 mark—has basically flipped the script. These professional cores aren't locked behind proprietary doors anymore; they’re accessible via standard interfaces that play nice with Linux-based SBCs like the Pi.
Why 640x512 Resolution is the New Industrial Standard
Here’s the deal with thermal imaging: your resolution is your lifeline. It's directly tied to your "Distance-to-Spot" ratio and the Nyquist limit. When you’re mounting a thermal camera module for raspberry pi on a drone or a fixed security pole, that higher pixel density is what gives you a usable Field of View (FOV) without losing the ability to see tiny details at a distance. A 640x512 core gives you four times the pixels of a 320x240 sensor. That is literally the difference between seeing a vague "hot spot" and identifying a failing insulator on a power line before it blows.
That jump in resolution is what makes sophisticated image processing actually viable. Edge detection algorithms and convolutional neural networks (CNNs) need crisp input to be accurate. We’re seeing a massive move toward Vanadium Oxide (VOx) sensors because they offer incredible sensitivity—often with an NETD under 50mk. That means these modules can pick up temperature differences as tiny as 0.05°C. If you want to dive deeper into the physics, you can check out Wikipedia's overview of Microbolometers or our specific guide on choosing the right uncooled IR sensor. But the bottom line is: more pixels equals better data, and better data means your Pi isn't just guessing.
Interface Architecture: USB Mini vs. MIPI CSI-2
When you're picking out a thermal camera module for raspberry pi, the interface you choose is going to dictate your system's latency and how much of your CPU you’re burning through. For the high-speed thermal data we're talking about, you’ve basically got two paths: USB 2.0/3.0 or the MIPI CSI-2 (Camera Serial Interface). Both have their place depending on what you're building.
USB 2.0/3.0 Implementation
USB-based thermal cores, like the USB Mini 640, usually stick to the UVC (USB Video Class) protocol. This is great because it’s "plug-and-play" on Raspberry Pi OS. In the shop, we love this for simplicity—you can just fire up standard libraries like OpenCV or V4L2 and start grabbing frames. It’s perfect for rapid prototyping or setups where the camera needs to be a few meters away from the Pi, since USB cables can take a beating compared to fragile MIPI ribbons.
⚙️ Engineer's Tip: While USB is easy, keep an eye on your USB bus traffic if you're running multiple peripherals. On older Pi models, the USB and Ethernet shared a bus, which could throttle your frame rate. Stick to the Pi 4 or Pi 5 for the best USB 3.0 throughput.
MIPI CSI-2 Low Latency
Now, if you’re doing FPV drone flight or real-time robotics, MIPI is the way to go. By plugging straight into the Pi’s CSI-2 port, your thermal data skips the USB controller and hits the Image Signal Processor (ISP) directly. We’re talking latency measured in milliseconds here, which is vital for autonomous navigation. Plus, MIPI modules usually draw less power, which helps with your SWaP (Size, Weight, and Power) budget when you're running on batteries.
You also have to think about the electrical environment. Industrial sites are noisy—electromagnetically speaking. Professional modules are built with proper shielding and power management to keep that thermal data clean, even when you’ve got high-power motors humming nearby in a drone chassis. Don't cheap out on the cabling here; a shielded ribbon can save you a lot of headaches later.
Professional Thermal Modules for Raspberry Pi
Choosing your hardware is always about finding that sweet spot between resolution, footprint, and how it talks to your board. I've worked with a lot of gear, and these two options are the gold standard for anyone looking to integrate with Raspberry Pi or similar Linux controllers.
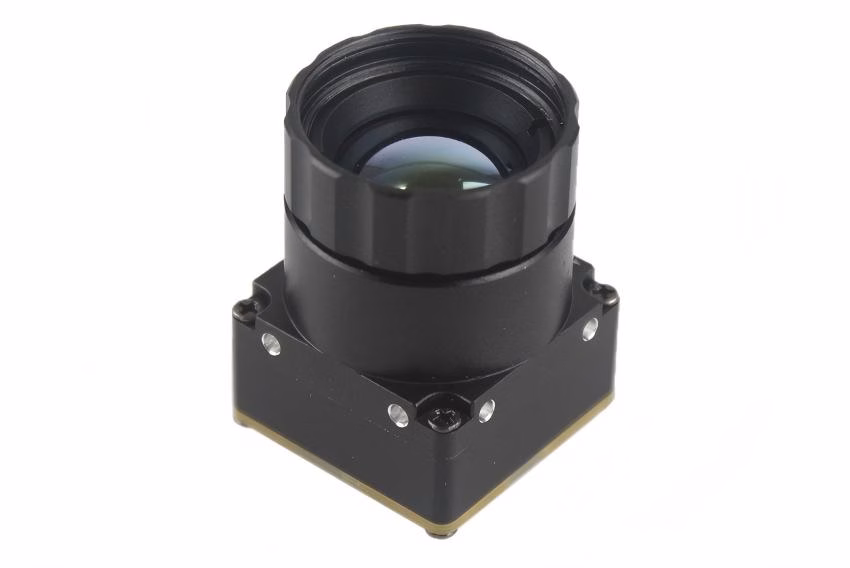
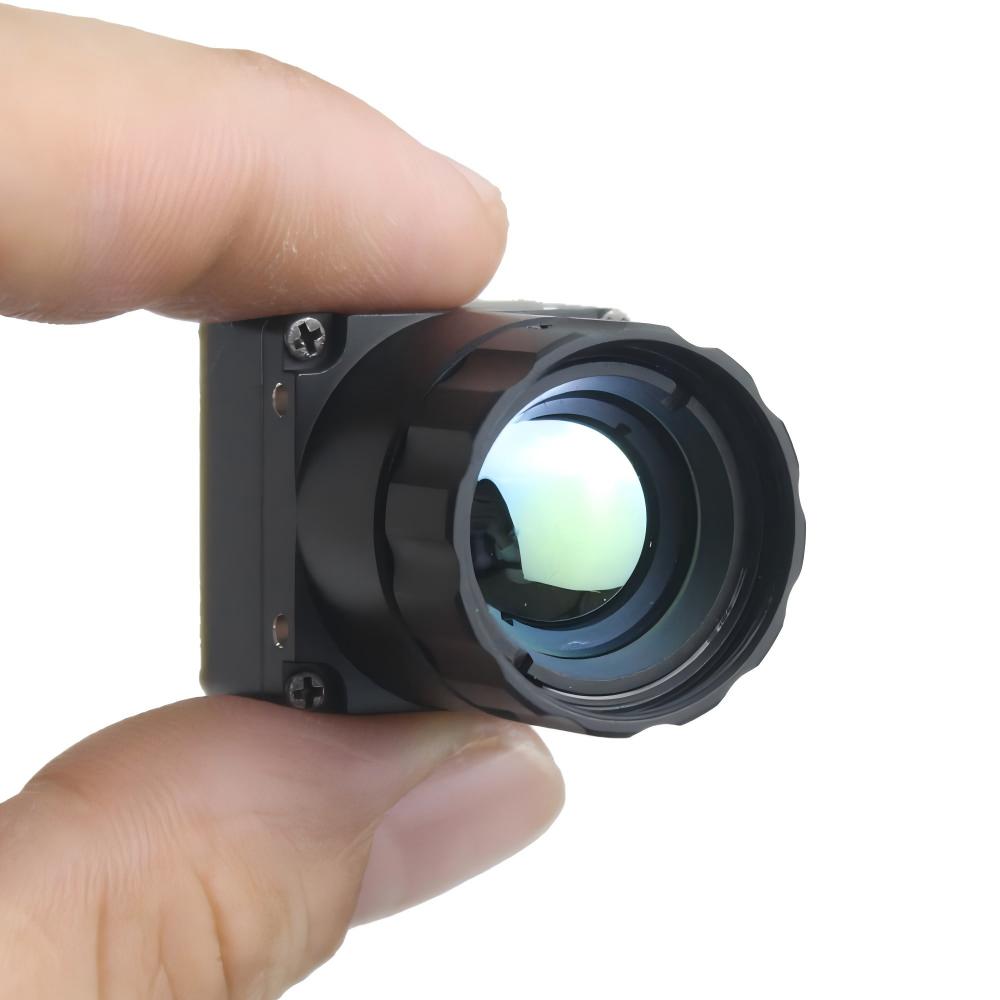
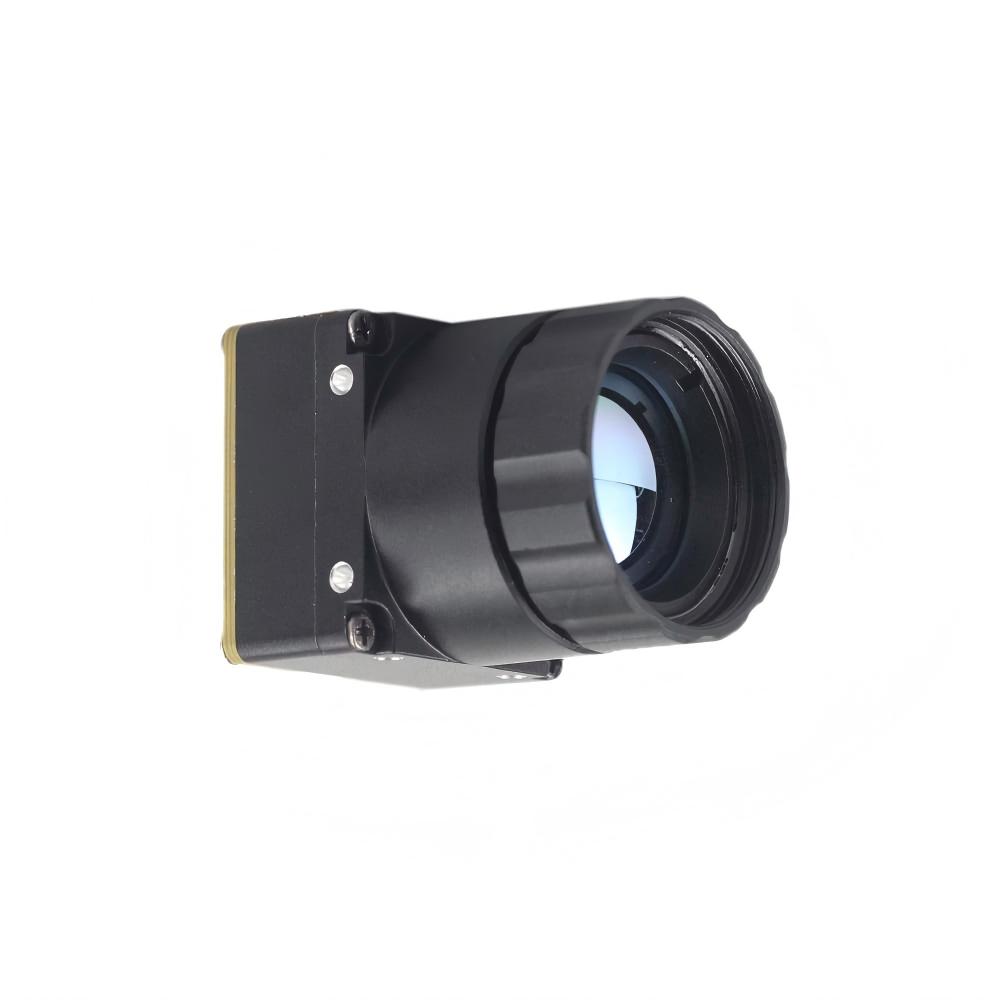
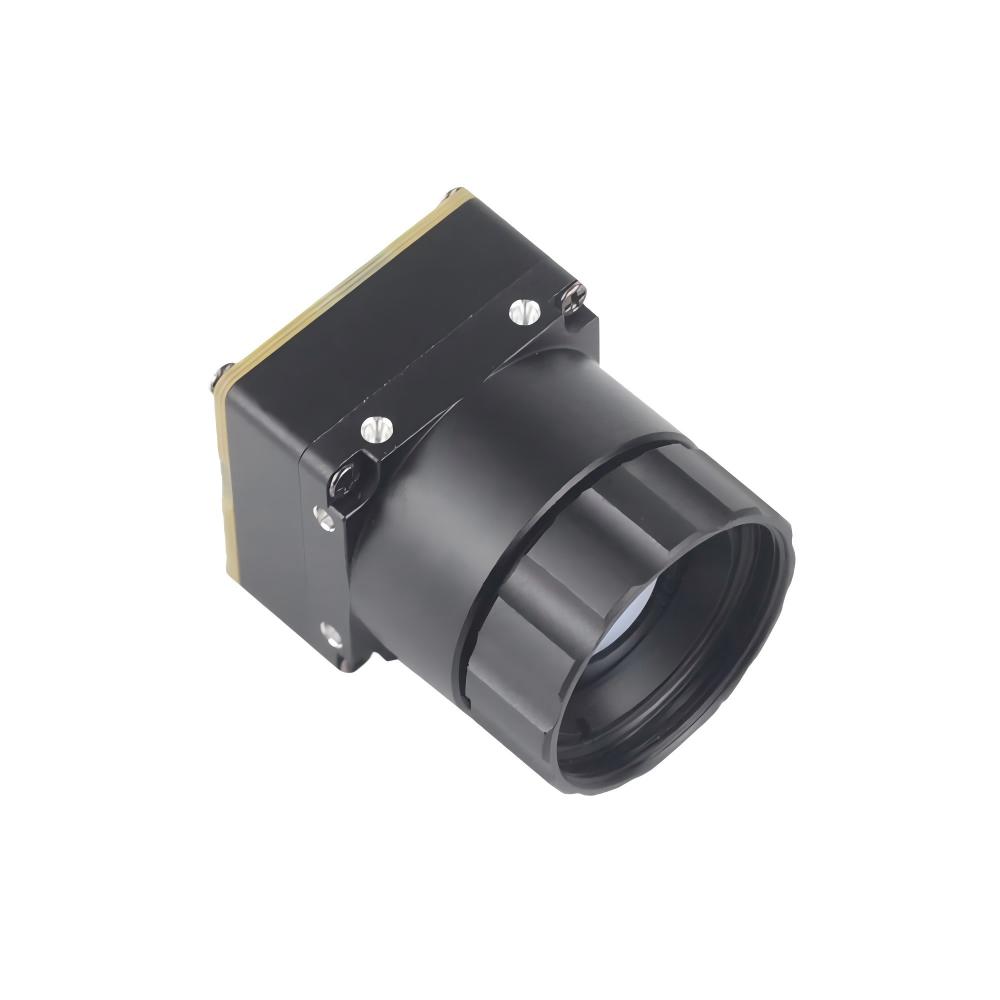
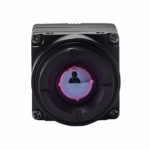
1. Uncooled LWIR USB Mini 640*512 Thermal Imaging Camera Core
This is the go-to for builds where space is tight but you still need heavy-duty resolution. Its 21mm x 21mm footprint is tiny—basically giving you the guts of a high-end DJI thermal sensor but in a raw format that lets you do whatever you want with the data.

Technical Features:
- ✅ Ultra-Compact Size: At just 21mm * 21mm, it fits into the tightest drone gimbals.
- ✅ High Resolution: 640*512 provides the kind of detail needed for actual inspections.
- ✅ Lens Versatility: You can swap focal lengths from 5mm for wide shots up to 150mm for long-range work.
- ✅ Rugged Build: It's built to stay stable even when the environment is vibrating like crazy.
View Product Details & Pricing ➔
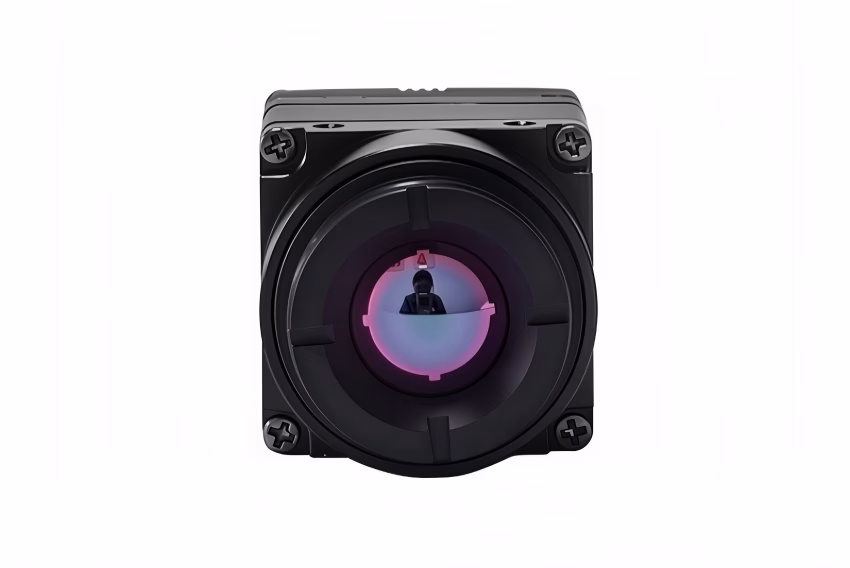
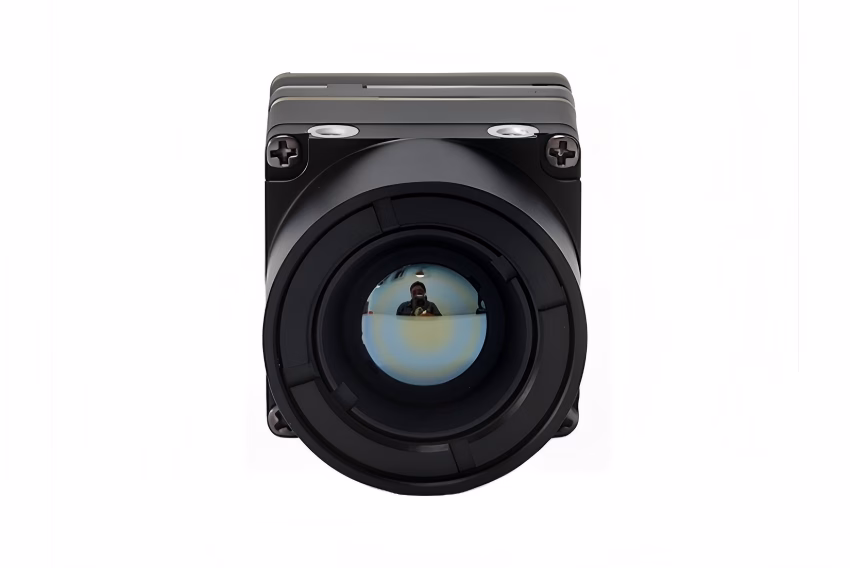
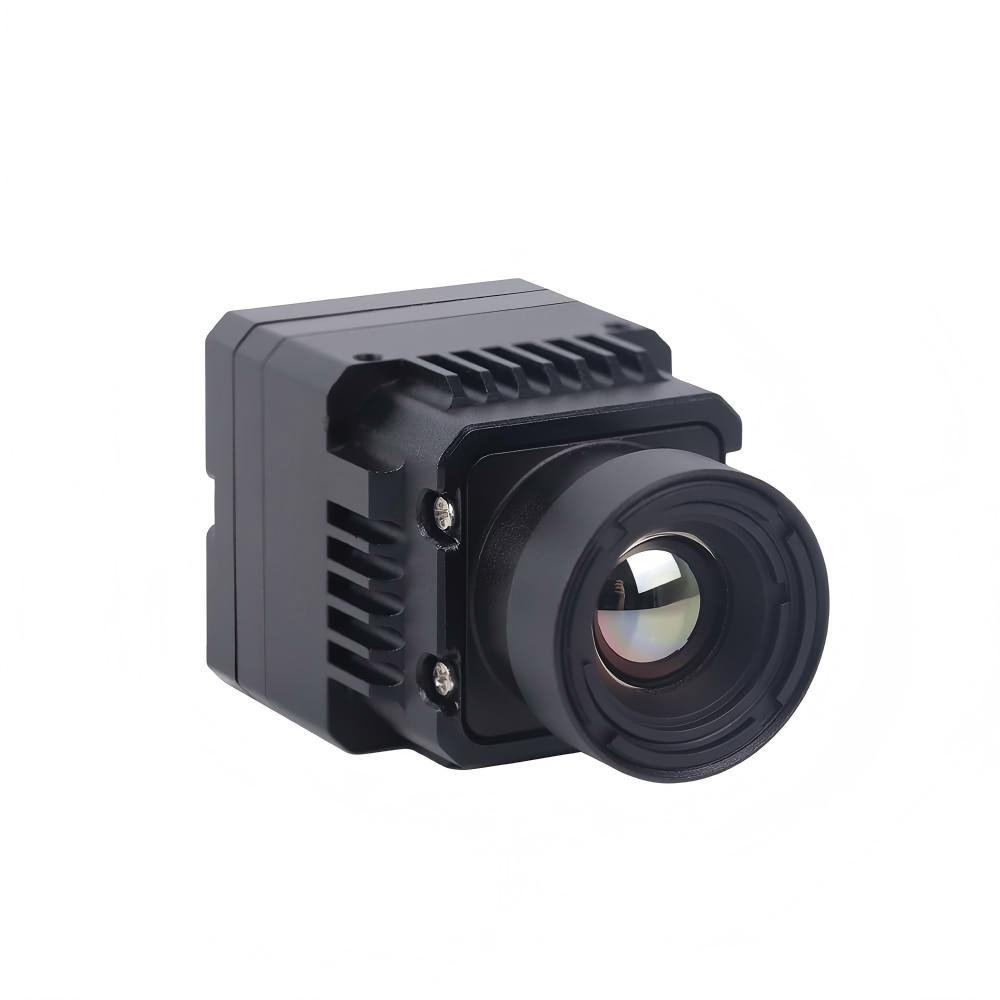
2. Uncooled Infrared MIPI 640 384 256 Thermal Imaging Module
This series is specifically built for the UAV crowd. Because it uses the MIPI interface, it’s all about direct-to-board communication. This is what you pick when you need the absolute lowest latency for computer vision tasks on the Pi.
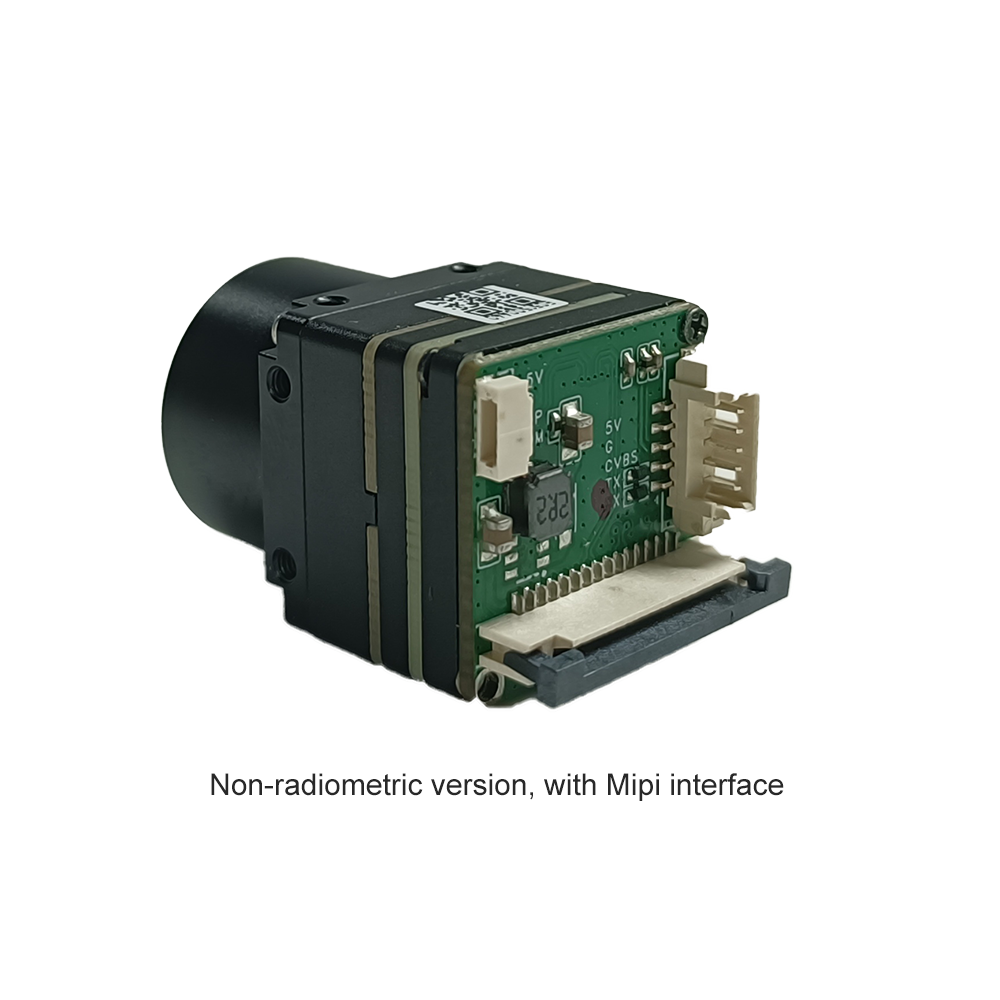
Technical Features:
- ✅ Scalable Resolution: Comes in 640x512, 384x288, and 256x192 to fit your project budget.
- ✅ Drone Ready: The standard 9mm lens is the "Goldilocks" FOV for aerial search and rescue.
- ✅ MIPI Direct: Hooks straight to the Pi CSI-2 port—no adapters, no fuss.
- ✅ Low Thermal Footprint: Efficient power use means the module itself stays cool, which keeps your readings accurate.
View Product Details & Pricing ➔
Integrating Edge AI with Thermal Data
Look, the real magic of a thermal camera module for raspberry pi happens when you bake in some Edge AI. Unlike standard cameras that get blinded by shadows or smoke, thermal stuff works in pitch black. That makes it the ultimate sensor for security and autonomous gear. But you have to be smart about how you handle the data.
Offloading Detection to the Camera Core
Some of the better modules, like the ones from Rising Optics, do a lot of the heavy lifting before the data even reaches the Pi. They handle things like image sharpening and Non-Uniformity Correction (NUC) on board. So, by the time the Pi gets the frame, it’s already "cleaned." This lets your Raspberry Pi—especially the Pi 5—dedicate its ARM cores to running TensorFlow Lite models for identifying humans or mechanical failures instead of wasting cycles on raw image reconstruction.
⚙️ Pro Workflow: Use the module's onboard FPGA to handle NUC, then pipe the clean stream into a Python script using a pre-trained YOLO model. You'll get much higher inference speeds this way.
Industrial Use Cases
- ✅ Perimeter Security: A 640x512 module can spot a human heat signature half a kilometer away. You only trigger the high-bandwidth alarm when the AI confirms a biological heat source.
- ✅ Predictive Maintenance: Stick one of these on a factory rail. The Pi can track motor temps in real-time and fire off an MQTT message the second a bearing gets too hot.
- ✅ Precision Agriculture: Drones with MIPI cores can map out crop hydration. It’s all about seeing those tiny temp variations in the soil that the naked eye misses.
Mastering Raspberry Pi Thermal Integration
How do I achieve real-time high-resolution thermal streaming on a Raspberry Pi without lag?
Are there thermal modules for Raspberry Pi that offer more than just basic heat maps?
Can I use these modules for outdoor or drone-based Pi projects?
📚 References & Further Reading
- Industry Standard: Rising Optics Thermal Lens & Core Solutions
- Technical Resource: Wikipedia: Microbolometer Technology and Materials
- Related Guide: Choosing the Right Uncooled IR Sensor for AI and Automation
- Internal Shop: Full Listing of Professional Thermal Cores